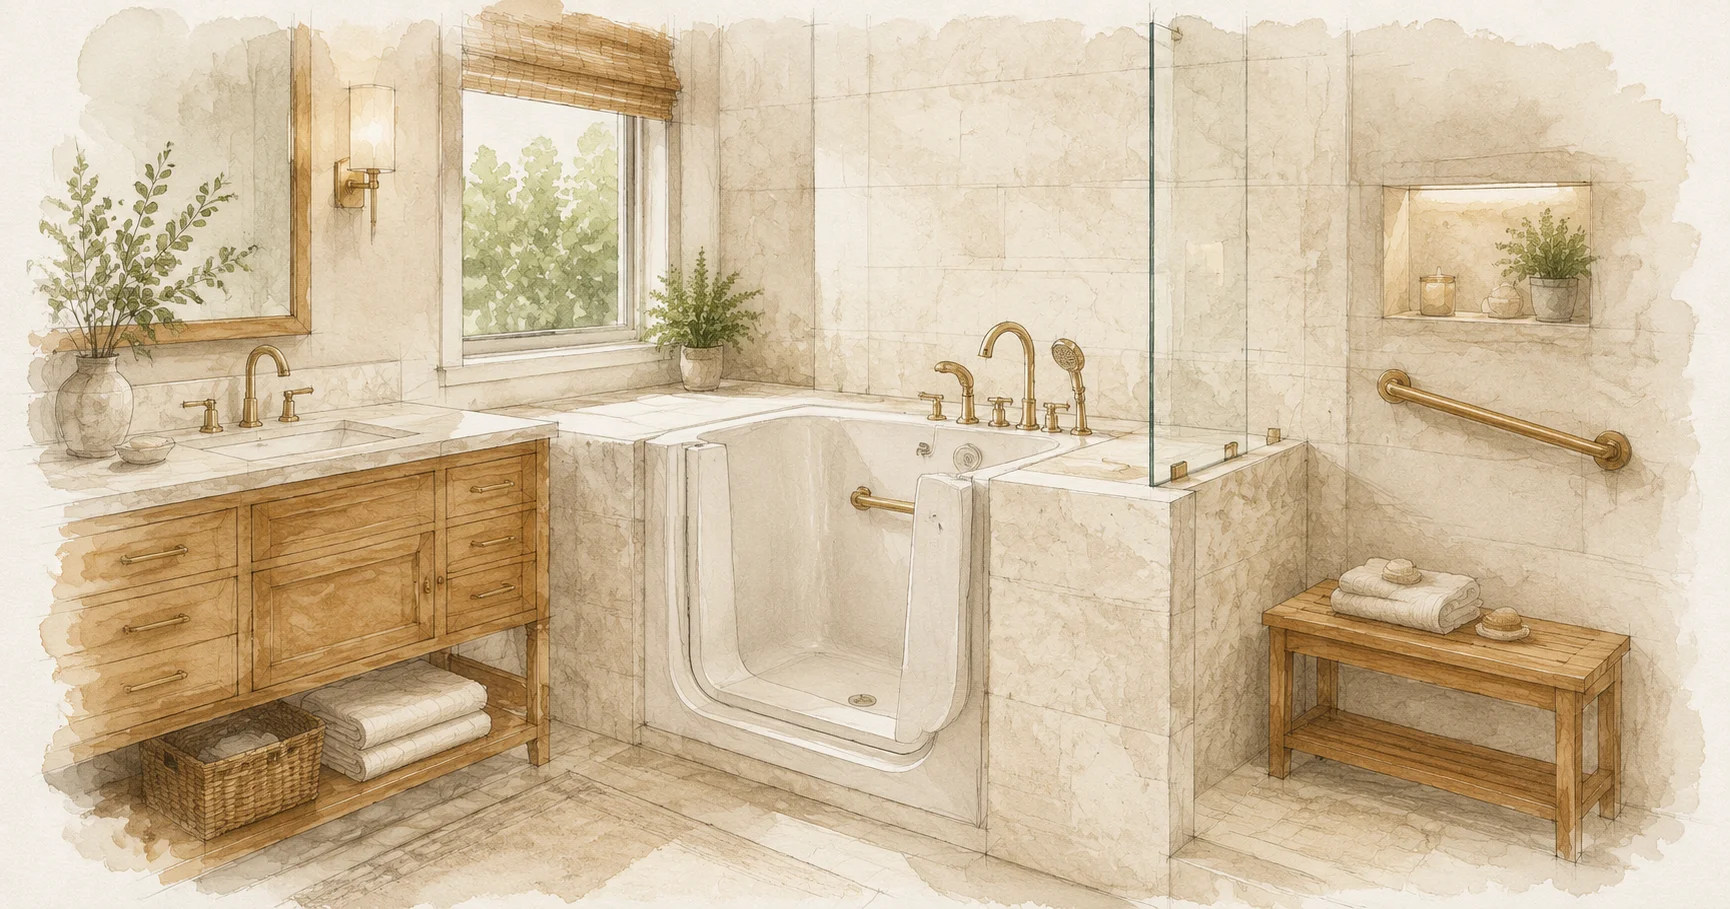

It is 9 degrees outside, the wind is pushing snow sideways across the driveway, and the air inside your house has been dry enough to shock you on every doorknob since November. Now picture the other version of that morning: you step through a single pane of glass into a warm tiled room, the floor is already heated under your feet, steam is rolling off a rain head overhead, and a deep soaking tub sits waiting three feet away. No curb to step over. No shower door to squeeze past. No cold tile shocking you awake.
That is a wet room, and it is one of the most requested primary bath layouts we are asked about in Lakeville and across the south metro. It is also one of the most misunderstood. A wet room is not a design style you can bolt onto an existing bathroom — it is a construction method, and the parts that make it work are almost entirely hidden behind the tile.
- What Is a Wet Room?
- The Anatomy of a Watertight Space
- Layout and Spatial Flow
- High-End Spa Upgrades Worth the Money
- Common Wet Room Mistakes
- Your Wet Room Readiness Checklist
What Is a Wet Room?
A wet room is a bathroom zone where the entire enclosure — floor, walls, and often the ceiling — is waterproofed as a single continuous system, so water is allowed to land anywhere inside it. Instead of containing water in a shower pan with a curb and a door, you contain it in the room itself and let a floor drain do the work.
In a luxury primary bath, the most popular version puts a freestanding tub and a curbless shower inside one glass-enclosed space. You get an uninterrupted tile floor, a much larger visual footprint, and a tub you can fill without stepping over anything. It also solves a nagging practical problem: freestanding tubs are notoriously awkward to clean around, and inside a wet room you can simply rinse the whole thing down.
| Traditional layout | Wet room layout | |
|---|---|---|
| Waterproofing | Shower pan and surround only | Full floor, walls, and lower ceiling |
| Floor transition | Curb at shower entry | Continuous, curbless |
| Glass | Full door and enclosure | Single fixed panel is often enough |
| Tub cleaning access | Tight perimeter, hand-dried | Rinse and drain |
| Accessibility | Curb is a trip and mobility barrier | Roll-in and step-free |
| Typical cost premium | Baseline | 25–45 percent over a standard remodel |
The accessibility benefit is real and worth naming early. A curbless entry is the single most valuable thing you can build into a bathroom if you plan to stay in the house, which is why it shows up on nearly every list of aging-in-place bathroom upgrades. A wet room built at 45 is a bathroom that still works at 80.
The Anatomy of a Watertight Space
The waterproofing is the project. Everything else is finish work. Three systems have to be right, and none of them are visible once the tile goes down.
Full-room waterproofing membranes
A standard shower gets a pan liner and a few feet of waterproofing up the walls. A wet room gets a bonded sheet or liquid-applied membrane across the entire floor, up every wall to at least the height of the showerhead, and typically across the full wall height on any wall inside the glass. Ceilings get membrane too whenever a rain head or steam is involved.
The critical detail is continuity. Every seam, inside corner, drain flange, and pipe penetration needs a bonded transition — those junctions are where failures start, not the open field of the membrane. Backer board alone is not waterproofing; it is a substrate that still needs a membrane over it. If a contractor describes the plan as "cement board and a good grout," that is a leak with a schedule.
Linear drains and floor sloping
Curbless floors need somewhere for water to go, and a linear drain is what makes that possible without a cone-shaped floor. A traditional center drain forces the floor to slope in four directions at once, which means small tiles and a lot of visible pitch. A linear drain at the wall or at the room's threshold lets the whole floor pitch in one plane, so you can run large-format tile with clean straight grout lines.
Code minimum slope is 1/4 inch per foot toward the drain. In a wet room that pitch has to be planned across the whole wet zone, not just the shower, and the tub's footprint has to sit on flat, level floor within a sloping field — which means the framing and mud bed are laid out around the tub before anyone picks a tile.
Curbless means the finished floor inside the wet zone sits below the floor outside it. On a slab or a first floor over a basement, that usually means recessing the joists or floor system — a framing change, not a tile change. Find this out during design, not after demolition.
What it costs
Waterproofing a wet room properly runs meaningfully above a standard shower build. Expect the membrane system, linear drain, and recessed framing to add several thousand dollars before a single tile is set.
That number is the cheapest insurance in the project. Water that gets under a failed wet room floor does not stay in the bathroom — it finds the joist bays, the ceiling below, and eventually the drywall in a room you were not remodeling.
Layout and Spatial Flow
The layout question that decides whether a wet room feels luxurious or cramped is simple: where does the spray actually land, and where does the tub sit relative to it?
Sizing the footprint
A wet room holding both a tub and a shower needs roughly 60 to 80 square feet of enclosed wet zone to work comfortably. Below about 50 square feet, the tub and the shower start competing and you end up with a soaking tub that catches shower spray every morning. The practical minimum we plan around is a wet zone of 6 by 9 feet, with 8 by 10 feet being the size where the layout genuinely breathes.
The NKBA Bath Planning Guidelines recommend 30 inches of clear floor space in front of a tub and a minimum 36-by-36-inch shower interior. Inside a wet room those clearances can share space rather than stack, which is exactly why the combined layout is more efficient than putting a tub and a separate shower side by side in the same room.
Keeping the tub out of the splash zone
Position the shower on the wall farthest from the tub and aim the fixtures across the short dimension of the room, not the long one. Wall-mounted heads should throw toward a tiled wall, not across open floor. A rain head mounted directly overhead is the friendliest fixture in a shared wet zone because its spray falls nearly straight down.
Keep at least 30 inches between the shower's drip line and the nearest edge of the tub. If the room will not give you that, put the tub outside the glass and keep the wet zone shower-only — a beautiful wet room with a dry tub alcove beats a compromised one with both crammed inside.
Sizing the glass
The best part of a well-planned wet room is how little glass it needs. A single fixed panel — typically 36 to 48 inches wide, running from floor to about 7 feet — is often all that separates the wet zone from the vanity side. No door, no hinges, no track collecting soap scum.
Fixed panels do need bracing. A ceiling-mounted brace or a wall-to-glass stabilizer bar is standard on anything over 36 inches, and blocking for it has to go in during framing. Half-inch tempered glass is the norm for freestanding panels; three-eighths is fine when the panel is short and well supported.
High-End Spa Upgrades Worth the Money
A wet room is already a premium build, so the upgrades that matter are the ones that change how the room performs day to day — not the ones that just cost more.
Radiant heated floors
This is not optional in Minnesota. It is the single upgrade that makes a wet room work here, and skipping it is the most common regret we hear. A curbless tile floor stays wet longer than a shower pan does, and wet tile in a January bathroom is genuinely unpleasant. Electric radiant mat under the tile solves both problems at once: comfort underfoot, and dramatically faster floor drying between uses, which also suppresses mildew in the grout.
Electric mat systems run roughly $12 to $20 per square foot installed, so a 70-square-foot wet zone lands somewhere around $900 to $1,400. Use a system rated for wet areas and install it under the membrane manufacturer's approved assembly — not every mat is compatible with every waterproofing system.
Dual rain heads and layered controls
A rain head alone is a poor primary shower — it cannot rinse conditioner out of long hair and it is useless if you want a quick shower without soaking your head. The functional configuration is a ceiling-mounted rain head plus a handheld on a slide bar, on separate valve controls or a diverter.
Watch the flow numbers. A single valve is generally sized for about 7 to 9 gallons per minute at typical residential pressure; running two full-flow heads at once can outrun both the valve and the water heater. Two heads on separate valves usually means a dedicated 3/4-inch supply run and a hard look at whether your water heater can keep up.
Built-in niches and benches
With no curb and no door, storage has to be recessed. Plan niches between studs during framing, size them to your actual bottles (a 12-by-24-inch niche holds more than three small ones), and slope the niche floor slightly toward the room so water drains out rather than pooling on the shelf. A tiled bench or a floating teak seat inside the wet zone is worth including even if nobody plans to sit — it is where you put a foot to shave, and it is what makes the room usable later in life.
That range assumes a full gut, new plumbing rough-in, mid-to-high-end fixtures, and a tile package. Simpler finishes and an existing footprint pull it toward the low end; moving the plumbing stack, expanding the room, or a slab-and-book-matched-slab tile package pushes past the top of it.
Common Wet Room Mistakes
Most wet room problems trace back to three decisions made early and cheaply.
Under-sizing the ventilation
This is the biggest one. A wet room generates far more airborne moisture than a standard bathroom, and the usual sizing rule — 1 CFM per square foot — is not enough. For a wet room, size the fan at the fixture-based rate instead: allow 50 CFM for the tub, 50 CFM for the shower, and 50 CFM for the toilet, then round up. A 70-square-foot wet room with a tub and shower should be running 150 CFM or more, ideally with the intake mounted inside or immediately adjacent to the wet zone and a humidity-sensing timer that runs the fan well past when you leave.
The Home Ventilating Institute publishes certified airflow ratings, and they are the numbers to trust — a fan's box rating and its rating at real-world duct static pressure are frequently not the same. Minnesota adds a wrinkle: that fan must vent to the exterior through insulated, sealed duct, because warm saturated air hitting a cold attic run will condense, drip back, and rot the ceiling around the fan housing. We wrote about that failure mode in detail in our guide to bathroom exhaust and venting codes in Minnesota, and it is the most common bathroom code problem we find in existing homes.
Choosing slippery, high-gloss floor tile
Polished marble and large-format high-gloss porcelain look extraordinary in a showroom and are a hazard on a permanently damp curbless floor. Look for a tested slip rating — a dynamic coefficient of friction (DCOF) of 0.42 or higher is the accepted wet-area threshold. Honed stone, matte porcelain, textured large-format tile, and small-format mosaics all work; the extra grout lines in a mosaic add grip, which is why they remain the default in the shower footprint even when large tile runs everywhere else. Our breakdown of bathroom flooring materials covers how the options compare on durability and maintenance.
Treating it as a finish upgrade
A wet room touches framing, plumbing, electrical, ventilation, and waterproofing before it touches a single decorative choice. It requires permits and inspection in every south metro city — the Minnesota Department of Labor and Industry maintains the state building code that local jurisdictions enforce, and the plumbing and electrical rough-ins get inspected before anything is closed up. Homeowners who scope a wet room as a tile-and-fixtures project consistently discover the recessed framing requirement at the worst possible moment.
Your Wet Room Readiness Checklist
Run through this before you commit to the layout. Every "no" is a cost or a design change, not necessarily a dealbreaker.
- The wet zone footprint is at least 50 square feet, ideally 60 to 80
- There is at least 30 inches between the shower spray zone and the tub
- The floor system can be recessed, or the room can be raised, for a curbless entry
- Joist direction and depth allow a linear drain run at 1/4 inch per foot of slope
- The freestanding tub's drain location is confirmed before framing (floor-mount versus wall)
- Water supply can deliver enough flow for the planned fixture count
- The water heater is sized for a rain head plus a 60-plus gallon soaking tub
- Exhaust fan is sized at 150 CFM or more, vented outside through insulated duct
- Blocking is planned for the glass panel brace, grab bars, and any bench
- Electrical plan includes radiant floor feed, GFCI protection, and wet-rated fixtures
- Selected floor tile has a DCOF of 0.42 or higher
- Permit scope covers plumbing, electrical, and structural, not just the remodel
Frequently Asked Questions
What is a wet bathroom?
A wet bathroom, or wet room, is a bathroom where the shower is not separated by a curb or an enclosed pan. The whole space — or a defined zone within it — is waterproofed as one continuous system and drains through a floor drain, so water can land anywhere without causing damage.
Can you really put a freestanding tub inside a shower enclosure?
Yes, and it is the signature version of the layout. The tub sits on the waterproofed, sloped floor inside the glass, positioned outside the shower's direct spray path. It requires deliberate placement and a wet zone of roughly 60 square feet or more to feel comfortable rather than crowded.
Does a wet room need a door?
Usually not. A single fixed glass panel between the wet zone and the vanity area is the most common configuration, which is part of the appeal — no hinges, no tracks, and much less glass to clean. Rooms that run a lot of steam or sit in a cold exterior corner sometimes add a door to hold heat in.
Are wet rooms hard to keep clean?
They are generally easier. There is no curb, no shower pan lip, and no door track — the three places soap scum collects in a conventional bathroom. Large-format tile with fewer grout lines and a properly sized exhaust fan do most of the work; a squeegee on the glass panel does the rest.
How much does a wet room cost in the Twin Cities?
A full wet room primary bath remodel typically runs $45,000 to $90,000 or more, with the waterproofing and curbless framing accounting for roughly $4,000 to $9,000 of that. The final number depends heavily on whether the plumbing stack moves, whether the floor system needs recessing, and the tile and fixture package.
A wet room is the clearest example of a remodel where the quality of what you cannot see determines whether you love the room in year 10. The membrane, the slope, the drain, and the ventilation are the project — the tile is just what you look at while they do their job.
If you are planning a luxury primary bath in Lakeville or anywhere in the south metro, Honey Doers designs and builds wet rooms as a single integrated system, from the framing recess through the waterproofing to the final glass panel. Our Lakeville bathroom remodeling team handles the permits, the inspections, and the details that decide whether a curbless floor stays watertight through a decade of Minnesota winters. Contact us to start the conversation about what your space can actually support.