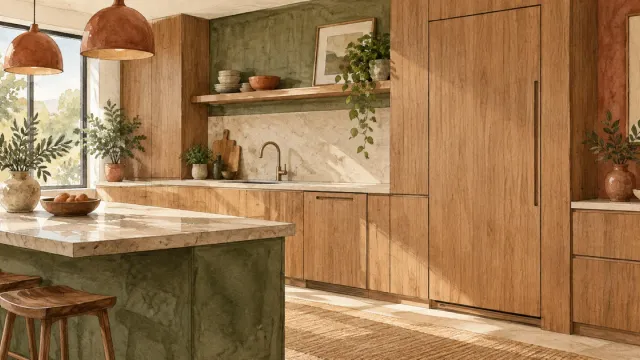
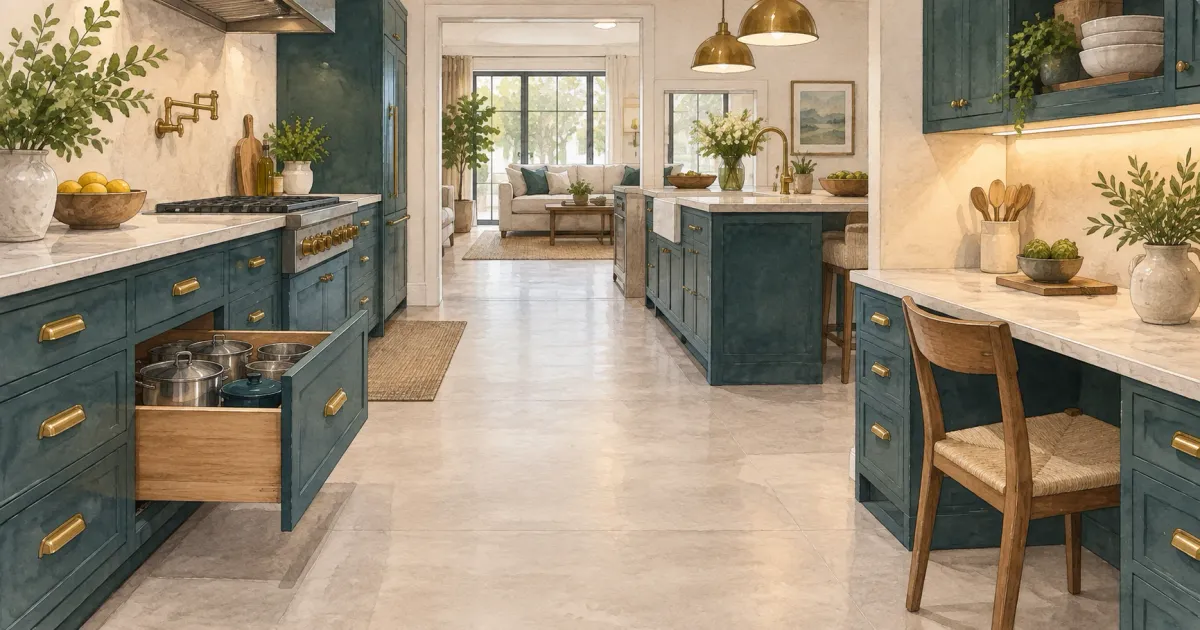
A kitchen can look newly remodeled and still be difficult to use. A beautiful island that blocks a walker, deep cabinets that hide everyday cookware, or a wall oven placed too high can turn routine tasks into daily frustrations. The question of how to design accessible kitchen spaces starts with a more useful goal: creating a room that supports the people who use it now and can continue to support them as needs change.
Accessibility is not limited to one age group or one type of mobility. It can make a kitchen easier for a homeowner recovering from surgery, a grandparent who visits often, a child learning to cook, or anyone who appreciates less bending, reaching, and navigating around obstacles. Thoughtful planning gives a kitchen remodel greater staying power without making it feel clinical or compromising the finishes you love.
- Start With How the Kitchen Is Actually Used
- How to Design an Accessible Kitchen Layout
- Choose Cabinets and Storage That Reduce Reaching
- Plan Countertops for Different Tasks and Bodies
- Select Appliances for Safer Everyday Use
- Build Safety Into the Finishes and Lighting
- Make the Plan Adaptable, Not Overbuilt
- Frequently Asked Questions
Start With How the Kitchen Is Actually Used
The best accessible kitchen design is based on real routines, not a standard floor plan. Before choosing cabinetry or appliances, consider who cooks, who unloads groceries, where meals are served, and which tasks feel inconvenient today. If someone always sets bags on the same counter because there is nowhere else to put them, that is where a landing zone belongs. If two people cook at once, a narrow aisle is more than a minor annoyance.
Think in work zones rather than relying entirely on the traditional work triangle. A preparation zone needs room near the refrigerator, sink, knives, cutting boards, and waste bin. A cooking zone needs safe access to the range, oven, and cookware. Cleanup needs a dishwasher that can be loaded without blocking a major pathway. When each zone has enough room and logical storage, the kitchen feels calmer and requires fewer unnecessary steps.
For homeowners planning to stay put for many years, this is also the time to name future needs, without trying to predict every possibility. AARP's HomeFit Guide works well as a room-by-room prompt here, mostly because it surfaces the small frictions people have stopped noticing. Making room for wider paths, adaptable counters, and easier storage during a remodel is far simpler than retrofitting them later.
How to Design an Accessible Kitchen Layout
Clear floor space is the foundation of an accessible kitchen, and it is the one thing that cannot be added later without moving walls or cabinets. The NKBA Kitchen Planning Guidelines put the baseline work aisle at 42 inches for a one-cook kitchen and 48 inches when two people work at once. Accessibility planning generally pushes toward the upper end of those ranges and adds a few dimensions the standard guidelines do not address.
| Dimension | Common planning target | More accessible target | What it affects |
|---|---|---|---|
| Work aisle | 42 in | 48 in | Room to pass or turn with an appliance door open |
| Walkway (no work surface on both sides) | 36 in | 42 in | Getting through with a mobility aid or full hands |
| Turning space | Not usually planned | 60 in diameter | A wheelchair completing a full turn |
| Clear floor space at each appliance | Varies | 30 × 48 in | Approaching the oven, sink, or refrigerator head-on |
| Doorway clear width | 30–32 in | 36 in | Mobility equipment and carrying items through |
| Work surface height | 36 in standard counter | 28–34 in seated section | Working comfortably from a seated position |
The wider figures in that second column come from the federal accessibility standards, which govern public buildings rather than private homes. Nobody is going to require them in your kitchen. They are simply the best-tested numbers available for what a body using a wheelchair, a walker, or a cane actually needs, which makes them a sound planning reference even though they are not a code requirement. Actual permitting and inspection follow the Minnesota State Building Code, and a remodel that moves plumbing, electrical, or structure will need those approvals regardless of the accessibility choices involved.
Existing construction usually decides how far a plan can go. Much of the South Metro's housing stock is 1960s through 1980s ramblers and split-levels, and those kitchens are typically boxed in by a wall that is carrying load. Going from a 42-inch aisle to a 48-inch one can mean a beam and posts rather than a demo day, which moves the budget conversation from cabinetry to structure — worth learning early. In Eden Prairie kitchen remodels and similar mid-century layouts, the honest answer is sometimes that a different wall should move, or that the kitchen should borrow a few feet from the dining room.
Doorways deserve the same attention. A wider opening improves circulation, makes carrying groceries easier, and accommodates mobility equipment if needed. Pocket doors or swing-clear hinges can help in tight adjacent spaces. The goal is not a wider opening on paper but a clear, usable path, with no door hardware or furnishings creating a pinch point.
Avoid placing an island just because the room appears large enough. Islands are useful for seating, prep work, and storage, but they can also interrupt the path between the refrigerator, sink, and range. In some kitchens, a peninsula or a well-planned table provides the same function with better circulation.
Choose Cabinets and Storage That Reduce Reaching
The single most useful storage change in an accessible kitchen is replacing fixed base-cabinet shelves with full-extension drawers. Traditional base cabinets require bending, kneeling, and reaching into the dark. Drawers bring pots, dishes, and pantry items into view at standing height. Deep drawers can hold cookware, while shallower drawers near the prep area organize utensils, wraps, and frequently used tools.
Pullout shelves improve existing cabinets, but drawers are easier still because their contents are visible from above. For upper cabinets, consider lowering a section, installing pull-down shelves, or reserving the most convenient shelves for daily items. High cabinets still have a place for seasonal serving pieces, but they should not be the only home for essentials.
D-shaped pulls are easier to grasp than small knobs, especially for people with limited hand strength or arthritis — a modest decision with an everyday payoff. Soft-close hardware helps too, though it is not an accessibility solution by itself. The larger gain comes from putting storage at the right height and making it easy to see.
A pantry should be designed for access, not just capacity. Adjustable shelves, roll-out trays, and shallow storage keep items from disappearing at the back. If it is a walk-in, make sure the doorway and interior path allow a person to enter, turn, and retrieve food safely.
Plan Countertops for Different Tasks and Bodies
A kitchen works better with more than one counter height. Standard-height counters suit many homeowners, while a lower section creates a comfortable seated prep area or baking station. An open knee space beneath that counter allows a chair or wheelchair to pull in close. That space is also useful for someone who simply prefers to sit while chopping vegetables or reading a recipe.
Counter depth matters, too. Very deep counters put outlets, small appliances, and anything near the backsplash out of easy reach. Keep commonly used equipment toward the front and provide clear landing space beside the refrigerator, cooktop, oven, and microwave. A durable, low-glare surface reduces visual strain and is easier to maintain than a highly polished finish — worth weighing alongside the usual considerations when choosing a countertop material. A softened edge profile is more forgiving than a sharp corner around islands and narrow walkways, and it changes nothing about the kitchen's overall style.
Select Appliances for Safer Everyday Use
Appliance placement affects accessibility more than appliance brand does. A wall oven installed at a practical height can reduce bending, but the best position depends on the user's reach and comfort. Side-swing oven doors may provide closer access to the oven interior than a traditional drop-down door, though they require adequate space beside the appliance.
Induction cooktops are worth considering for many accessible kitchens. Their surfaces stay cooler than conventional electric or gas cooking surfaces once cookware is removed, and they are easier to clean because the top is flat. They do require compatible cookware, so that trade-off should be discussed before making a decision.
A microwave below the countertop or in a drawer is safer than one mounted above a range, which asks someone to lift a hot dish down at eye level. Raised dishwasher installations reduce bending but have to be balanced against countertop layout. French-door and side-by-side refrigerators can offer better access to fresh food than a deep, full-width door, though interior organization varies widely by model.
Look for controls with clear contrast, tactile feedback, and readable labels. Smart features are convenient, but physical controls still matter when hands are wet, a phone is misplaced, or a guest is cooking.
Build Safety Into the Finishes and Lighting
Flooring, lighting, and color contrast do as much for everyday safety as any layout change, and they cost far less. Flooring with a matte or lightly textured finish provides better traction than slick, glossy materials. It should also be easy to clean and comfortable underfoot. Minimize abrupt changes in floor level between the kitchen and nearby rooms, since even a small threshold can create a trip hazard or impede wheeled mobility.
In Minnesota, the route that deserves the most attention is the one from the attached garage through the mudroom into the kitchen. For roughly five months a year that path is traveled with wet boots, gloves, and armloads of grocery bags, and most homes here have a step up from the garage slab at the start of it. A landing surface just inside the kitchen, slip-resistant flooring at the transition, and a handrail or graspable edge at that step address a far more common hazard than anything inside the work aisle.
Good lighting makes every kitchen safer, and it carries more of the load here than in most of the country — a December afternoon in the Twin Cities is effectively dark by 4:30. Layer general ceiling lighting with focused task lighting at counters, the sink, and the cooktop. Under-cabinet lighting eliminates the shadows that fall exactly where knives, measurements, and food preparation happen. Choose switches that are easy to operate and locate them where they can be reached without crossing the room.
Color contrast supports safer use as well. A counter that contrasts with the floor and cabinetry helps define edges, while a backsplash or control panel that is easy to see makes everyday tasks less tiring. Contrast does not require bold colors. It can be achieved through a thoughtful mix of warm wood, painted cabinetry, stone, and hardware.
Make the Plan Adaptable, Not Overbuilt
An accessible kitchen does not need every possible feature. The right scope depends on who uses the space, the home's layout, budget priorities, and how long the homeowners expect to stay. One family may focus on wider aisles, drawer storage, and durable flooring. Another homeowner may need a seated work area, specialized appliance placement, and more substantial clearance from the start.
The most valuable plans skip expensive changes that solve no real problem while preserving flexibility for later. A layout that allows an island to be modified, blocking in a wall for future grab support nearby, or cabinetry that can be adjusted all protect future options without adding complexity today. If the kitchen is part of a broader plan to stay in the house, it is worth looking at the whole path through the home at the same time — the same thinking applies to accessible home modifications at the entry, in the bathroom, and on the main level.
A clear design process keeps these decisions grounded. Some homeowners also want a designer or contractor with formal training in this work; the NAHB's Certified Aging-in-Place Specialist credential is the most recognized one to ask about. At Honey-Doers, the process starts with listening to how homeowners move through their current kitchen, what is getting in the way, and which improvements will make the greatest difference. Quality craftsmanship matters, but so does a plan that respects the household's routines and budget with no hidden costs or surprises.
Frequently Asked Questions
What does an ADA compliant kitchen look like?
Strictly speaking, the ADA applies to public accommodations and commercial facilities, not to private homes, so a house kitchen is never required to comply. The dimensions people mean when they say this are a 60-inch turning circle, a 30-by-48-inch clear floor space at each appliance, work surfaces between 28 and 34 inches high with open knee space, and controls reachable from a seated position. Those are sound planning targets for a home even though no inspector will check them.
How much clearance does a wheelchair need in a kitchen?
A 60-inch diameter turning circle allows a wheelchair to complete a full turn, and a 48-inch work aisle allows passage past a work surface. Where a full circle will not fit, a T-shaped turning space built into a corner can serve the same purpose in less floor area. The clearance most often overlooked is at the dishwasher and oven, where an open door eats into the aisle.
How high should countertops be in an accessible kitchen?
Standard counters are 36 inches, which works well for most people standing. For seated use, a work surface between 28 and 34 inches with open knee space beneath is the usual target. The most practical approach in a family kitchen is a mix: keep most of the run at standard height and lower one section, typically near the prep zone or at the end of an island, where someone can pull a chair in.
Can an existing kitchen be made more accessible without a full remodel?
Yes, and several of the highest-value changes do not involve moving a wall: converting base cabinets to full-extension drawers, swapping knobs for D-shaped pulls, adding under-cabinet task lighting, relocating the microwave below the counter, and removing a threshold at the doorway. What cannot be fixed without construction is aisle width, which is why clearance is the thing to evaluate first.
Do accessible kitchen upgrades hurt resale value?
Most of them are invisible as accessibility features. Wider aisles, drawer storage, better lighting, a second counter height, and a counter-depth microwave read as ordinary good design, and several are already standard in higher-end kitchens. What looks clinical is what gets bolted on after the fact — institutional grab bars, exposed hardware, mismatched fixtures — which is the argument for planning them in during the remodel.
The most welcoming kitchens do not ask people to adapt to the room. The decisions that get them there happen early, while the plan is still on paper and the clearances can still change.
Honey-Doers designs and builds kitchens throughout the South Metro, for homes where accessibility is the reason for the project and homes where it is simply a plan worth having. Contact us to talk through how your kitchen is working now and what it would take to make it easier to use.