January in Minnesota has a way of testing your commitment. The roads are icy, the windchill is brutal, and the drive to a public gym suddenly feels like a much bigger ask than it did in September. So you set up something at home — a rack in the garage, a treadmill in the basement — and for a few weeks, it works.
Then the smell starts.
That damp, stale, faintly musty odor is one of the most common complaints homeowners have about basement and garage gyms. Close behind it: floors that feel soft underfoot, cracked rubber mats that slide around, or concrete that sweats when the temperature swings. These aren't cosmetic problems. They're signs that the space wasn't built for the demands of daily exercise — and they get worse the more you use it.
The good news is that both are solvable. It just takes the right flooring foundation and a ventilation setup that actually keeps up with what your body produces during a hard workout.
Why Flooring and Air Quality Are Structural Problems First
Before you pick a floor or a fan, it helps to understand what's actually happening in a basement or garage gym environment.
Exercise generates heat and moisture — a lot of it. A single person doing moderate cardio can release nearly a liter of sweat per hour. That moisture has to go somewhere. In a poorly ventilated space, it migrates into the flooring, the subfloor, and eventually the wall framing. Over time, that creates conditions for mold, material breakdown, and the kind of odor that no amount of cleaning quite fixes.
Impact compounds the problem. Dropped weights, jumping movements, and heavy foot traffic create repeated stress on whatever surface is underneath. A floor that wasn't designed for impact loading — standard carpet, vinyl plank, even some foam tiles — will compress, delaminate, or shift, creating uneven surfaces that become a safety hazard.
The right flooring manages both: it absorbs impact without breaking down and resists moisture without trapping it. Ventilation handles what flooring can't — cycling out humid, stale air before it has a chance to settle into your walls or your lungs.
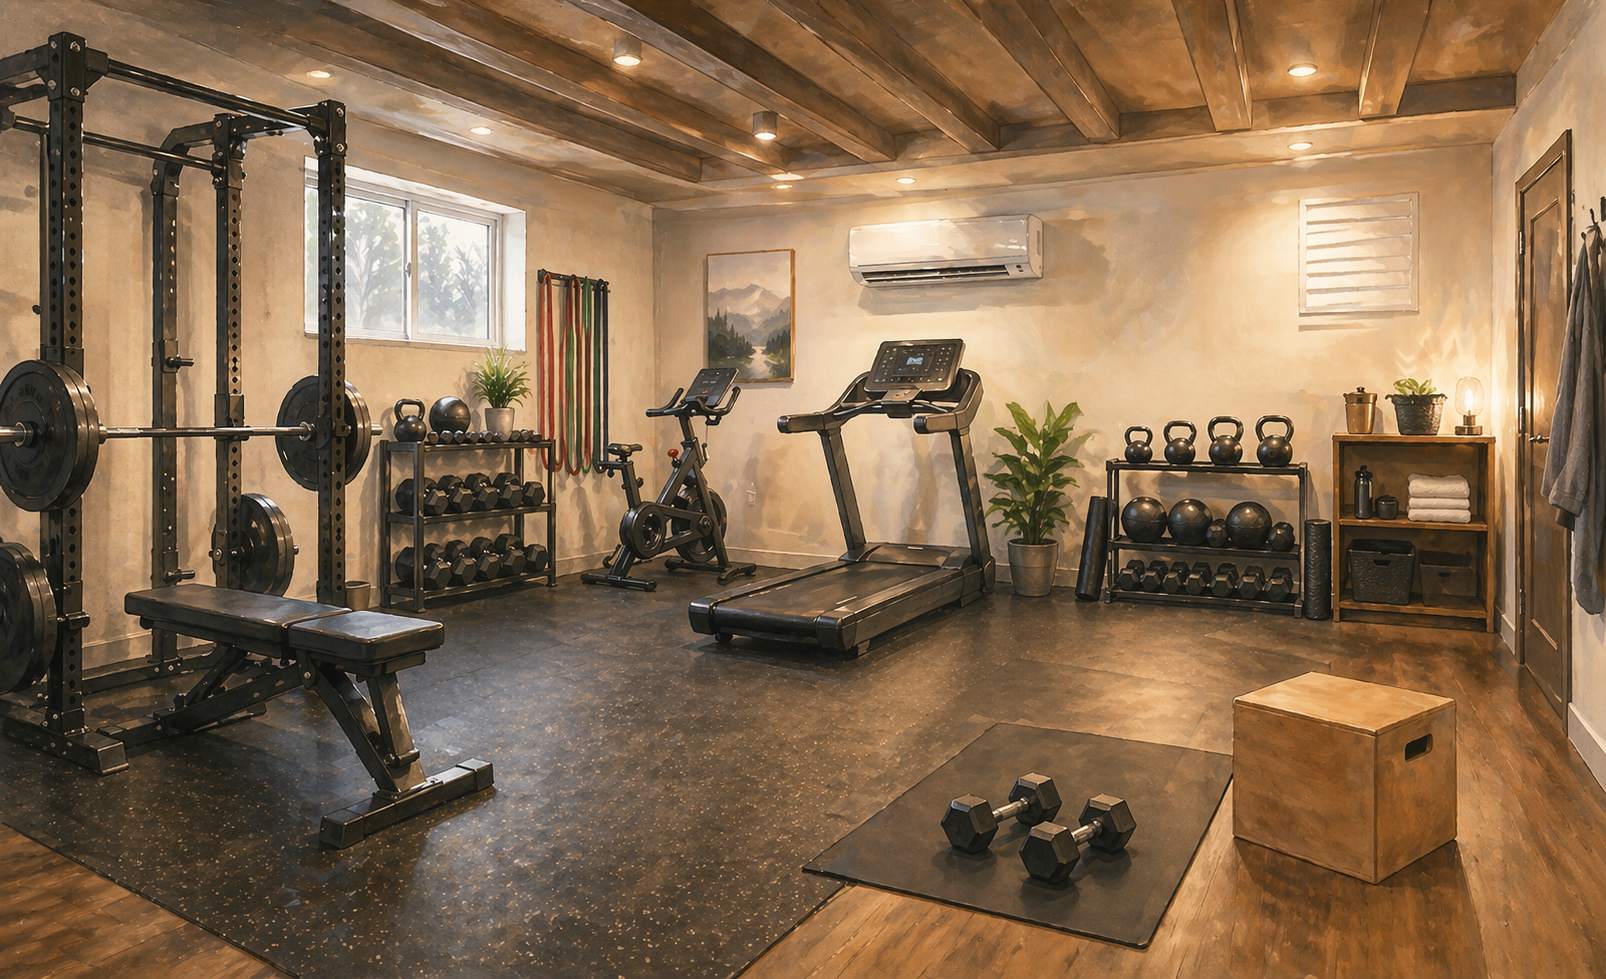
Home Gym Flooring: 4 Options Compared
1. Rubber Flooring Rolls
Rolled rubber is the gold standard for serious home gym flooring, and for good reason. It's dense enough to absorb the impact of free weights, forgiving enough to reduce joint stress during high-rep movements, and durable enough to handle daily use for years without breaking down.
It comes in varying thicknesses — typically 3/8" to 3/4" — and thicker rolls offer better protection for both your joints and the subfloor underneath. Most rolls are 4 feet wide and cut to length, making them adaptable to irregular room shapes.
Why It Works:
- Impact resistance absorbs dropped weights and plyometric landings without cracking or compressing
- Moisture resistance doesn't absorb sweat or humidity the way foam or carpet does
- Durability holds up to heavy equipment, rolling casters, and daily foot traffic for 10+ years
- Low maintenance wipes clean easily and doesn't harbor bacteria the way textured foam can
Ideal For: Dedicated gym spaces in basements or garages where heavy lifting, cardio equipment, or high-impact training will be the primary use. Best choice if longevity and performance are the priority.
Approximate cost: $2–$4 per square foot for mid-grade rolls; professional installation adds to that.
2. Interlocking Rubber Tiles (Floor Mats for Home Gym)
Interlocking rubber tiles offer much of the same performance as rolled rubber with one meaningful advantage: modularity. You can cover a partial space, replace a damaged tile without pulling up the whole floor, and bring them with you if you move.
The trade-off is the seams. Moisture and debris collect in the joints over time, and if the tiles aren't tightly fitted, they can shift during lateral movements. Thicker tiles (3/4") minimize both problems.
Why It Works:
- Modular installation means no adhesive, no professional install required for most setups
- Replaceable sections let you swap out worn or damaged tiles individually
- Portable — the floor can move with you, which matters for renters or future flexibility
- Wide availability at a range of price points makes this the most accessible rubber option
Ideal For: Homeowners who want a DIY-friendly floor for a defined workout zone — a lifting platform, a cardio corner — rather than wall-to-wall coverage.
Approximate cost: $1.50–$3 per square foot depending on thickness and brand.
3. Foam Tiles
Foam tiles are the budget entry point for home gym flooring, and they have a legitimate use case: low-impact, floor-based exercise. Yoga, stretching, bodyweight work, and light dumbbell training all work fine on quality foam.
Where foam fails is under serious load. Heavy equipment compresses it permanently, and once it's compressed it no longer provides even support. It also absorbs moisture — a real liability in a basement or garage environment where humidity fluctuates.
Why It Works:
- Cushioning is excellent for floor exercises, stretching, and yoga
- Lightweight and easy to install with no tools or adhesive
- Low cost makes it accessible for budget-conscious setups
- Comfortable underfoot for long stretching sessions or yoga practice
Ideal For: Dedicated yoga or mobility spaces, kids' workout areas, or supplemental zones in a gym that already has rubber flooring for the heavy-use area.
Approximate cost: $0.50–$1.50 per square foot.
4. Engineered Hardwood or Luxury Vinyl Plank (LVP)
For homeowners who want their gym to look like a finished living space rather than a utilitarian workout room, engineered hardwood or LVP can work — with some important caveats.
Neither is ideal for heavy free weights. Dropped dumbbells will dent or crack both surfaces, and heavy equipment can cause permanent impressions. But for cardio rooms, yoga studios, or multi-purpose spaces that double as offices or guest areas, they offer a clean aesthetic that rubber and foam simply don't.
LVP has a meaningful edge over hardwood in a gym context: it handles moisture significantly better and costs less. Engineered hardwood is more moisture-tolerant than solid hardwood but still requires careful humidity management.
Why It Works:
- Aesthetics match finished living spaces — ideal for dual-purpose rooms
- LVP moisture resistance outperforms hardwood in humidity-prone basements
- Wide style selection lets you match existing flooring in adjacent rooms
- Comfort underfoot for long sessions of low-impact exercise
Ideal For: Cardio-focused rooms, yoga or Pilates studios, or multi-use spaces where the gym doubles as a livable room and heavy free weights won't be used.
Approximate cost: LVP runs $2–$5 per square foot installed; engineered hardwood $4–$8+.
Home Gym Ventilation: 3 Approaches Compared
1. Exhaust Fan with Passive Intake
The simplest mechanical ventilation solution is a dedicated exhaust fan — wall- or ceiling-mounted — paired with a passive intake (a louvered vent or door gap) that allows fresh air to replace what's being pushed out. This is the minimum viable ventilation setup for a home gym, and it's effective for smaller spaces with moderate workout intensity.
Why It Works:
- Continuous air exchange removes humid, stale air during and after workouts
- Low installation complexity — a single fan and intake vent, often DIY-compatible
- Cost-effective entry point for meaningful ventilation improvement
- Timer or humidity-sensor controls available so the fan runs automatically based on conditions
Ideal For: Basement or garage gyms under 300 square feet with one or two users. Works well for moderate-intensity training where CO₂ and humidity buildup is manageable.
Approximate cost: $100–$400 for the unit; installation varies.
2. Energy Recovery Ventilator (ERV)
An ERV is a step up in both performance and investment. It exchanges stale indoor air with fresh outdoor air while capturing energy from the outgoing air stream — so in a Minnesota winter, you're not heating the outdoors every time you ventilate. It manages both humidity and temperature, making it the right tool for a climate where the outdoor air is either brutally cold or humid and warm depending on the season.
Why It Works:
- Year-round effectiveness handles both winter cold and summer humidity
- Energy efficiency recovers heat from exhaust air, reducing heating load
- Continuous balanced ventilation keeps CO₂ levels low during long workouts
- Integrates with HVAC in some configurations for whole-home benefit
Ideal For: Larger or more heavily used gym spaces, dedicated rooms where HVAC integration makes sense, and homeowners who want a long-term solution rather than a stopgap.
Approximate cost: $500–$1,500+ for the unit; professional installation required.
3. Mini-Split with Ventilation Mode
A mini-split heat pump does double duty: it provides heating and cooling independently of your home's central HVAC, and higher-end models include a ventilation or fresh-air intake mode. For a garage gym in Minnesota, this is often the most practical all-in-one solution — you get climate control and air quality management from a single system.
Why It Works:
- Independent temperature control keeps the gym comfortable without affecting the rest of the house
- Dehumidification mode actively pulls moisture out of the air during and after workouts
- Fresh air intake (on compatible models) addresses ventilation without a separate system
- Year-round utility — cools in summer, heats in winter, dehumidifies when needed
Ideal For: Garage gyms, larger basement spaces, or any situation where the gym isn't served by existing HVAC and independent climate control is the goal.
Approximate cost: $1,500–$4,000+ installed depending on capacity and brand.
Home Gym Setup Checklist
Before your first workout, run through these must-haves for a safe and comfortable space:
- [ ] Flooring installed and fully secured — no shifting tiles, no exposed concrete near equipment
- [ ] Subfloor moisture checked — especially in basements; address any moisture intrusion before flooring goes down
- [ ] Ceiling height confirmed — minimum 8 feet for most overhead movements; 9–10 feet preferred for pull-up bars and overhead press
- [ ] Dedicated electrical circuit for treadmills, ellipticals, or other motorized equipment
- [ ] Ventilation operational — fan, ERV, or mini-split tested before equipment is fully arranged
- [ ] Lighting adequate — bright, even light for safety; avoid single overhead fixtures that create shadows near equipment
- [ ] Mirror placement planned — useful for form checks but needs to be mounted to studs, not drywall alone
- [ ] Equipment anchored where required — racks and cable systems bolted to floor or wall per manufacturer specs
- [ ] Storage solution in place — wall-mounted racks, pegboards, or shelving so floors stay clear
- [ ] Rubber mat or platform under free weight area even if the primary floor is rubber — adds a second layer of protection for your subfloor
Build a Gym Worth Showing Up To
The difference between a gym you use and one you avoid isn't motivation — it's environment. A space that's comfortable, clean, and built for the work you're doing becomes somewhere you actually want to be, even when it's -10°F outside.
If you're thinking about converting your basement or garage into a real workout space, our team at Honey-Doers can help you plan it right from the floor up. Take a look at our basement finishing work and project gallery to see what's possible, then get in touch — we'd love to help you make the winter gym commute obsolete.