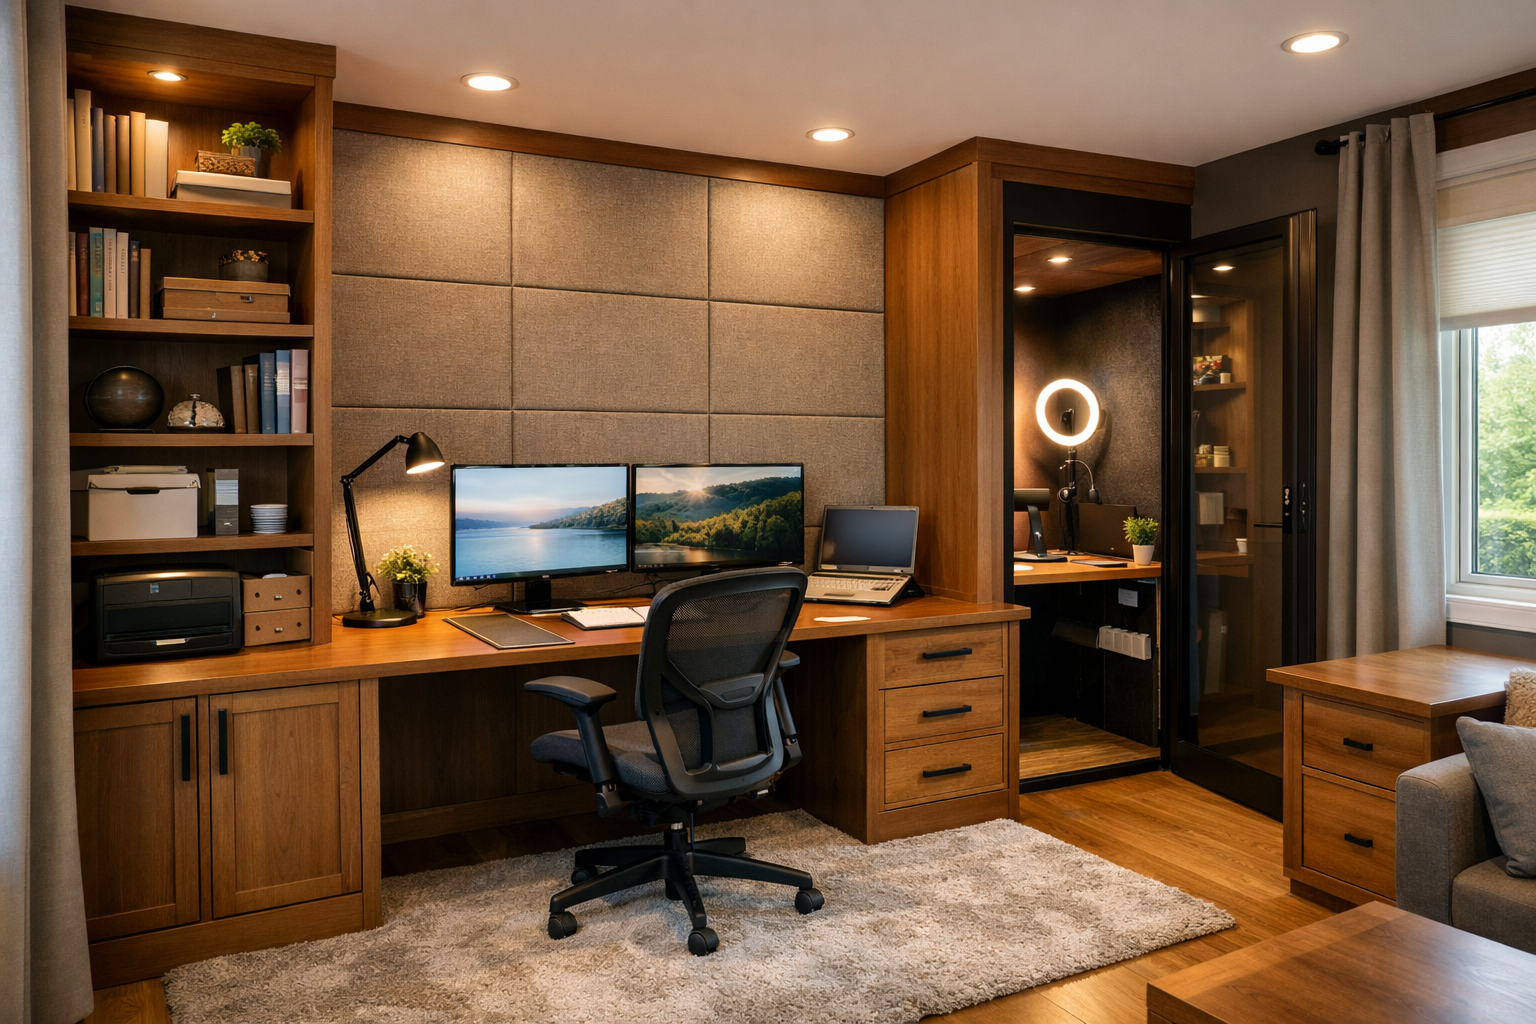
There is a specific kind of frustration that comes with opening up a floor plan, removing the wall between the kitchen and living room, and discovering that a load-bearing column now stands in the middle of everything you just freed up. It is not going anywhere. The engineer confirmed it. The contractor confirmed it. And now it just sits there, interrupting sightlines and collecting awkward furniture arrangements around it.
The good news is that a structural pillar does not have to be a liability. With the right approach to custom cabinetry, it can become one of the most interesting and functional features in the room. These three solutions range from subtle to architectural, and each one transforms something homeowners work around into something they actually use.
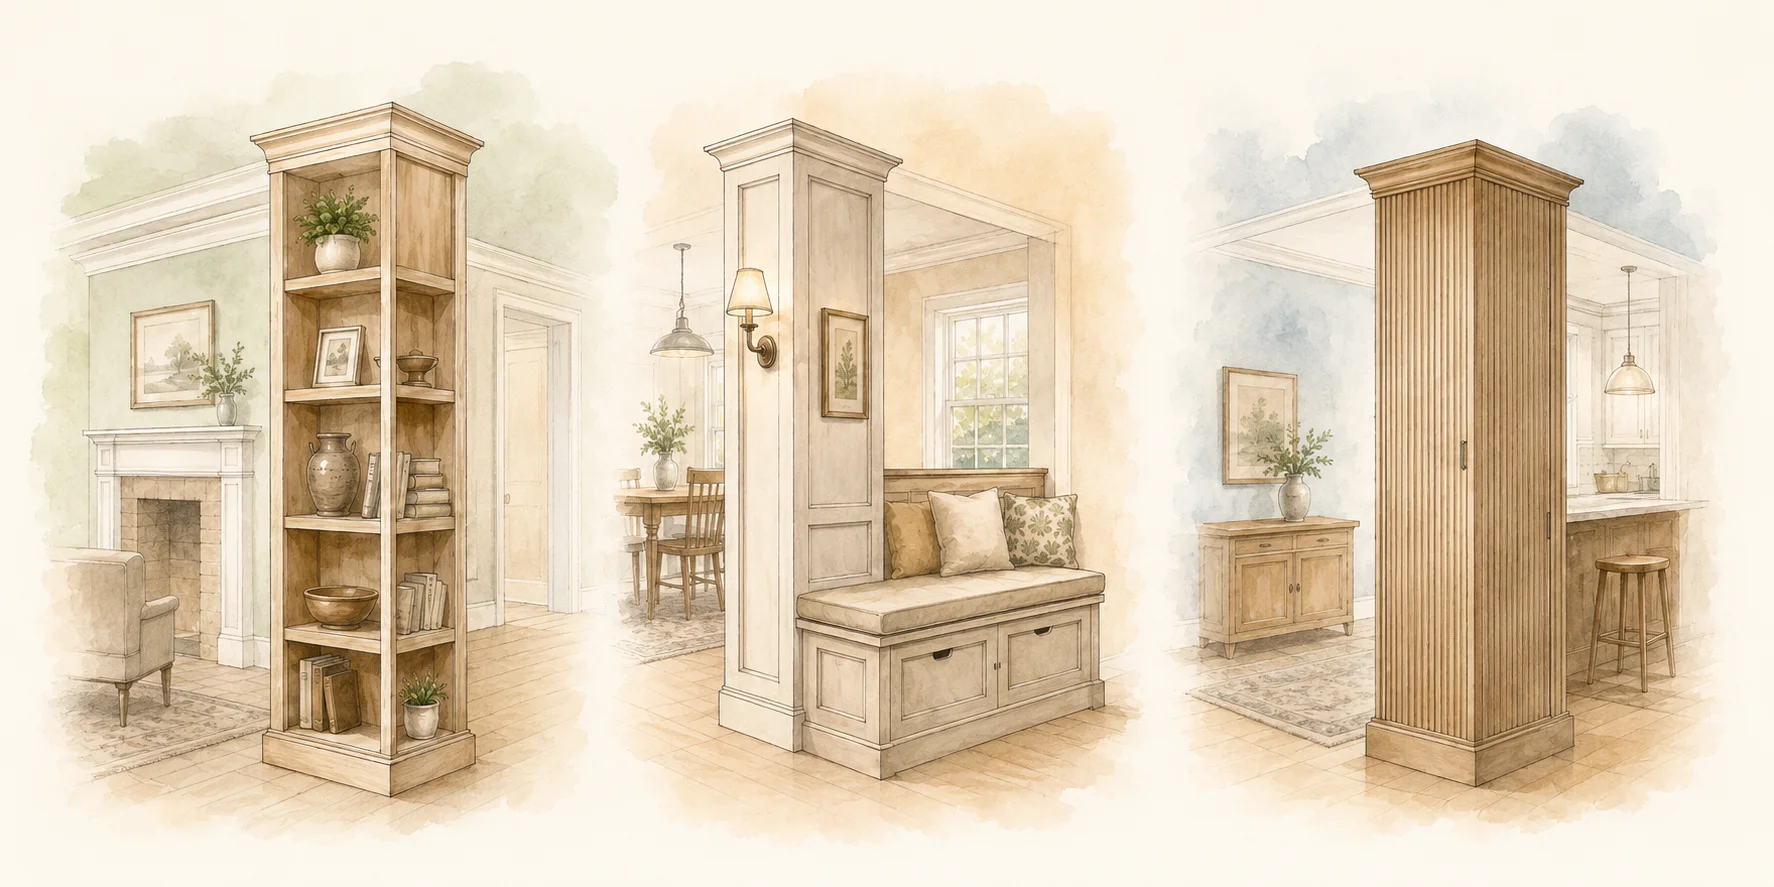
1. Wrap the pillar: shallow shelving and display niches
The simplest approach is also the most versatile. Wrapping a structural column with shallow shelving or display niches treats the pillar as a built-in opportunity rather than an obstacle. Instead of drywall and paint, the column gets custom millwork on all four sides — open shelving for books or objects, closed cabinets for hidden storage, or a mix of both depending on the room.
This works particularly well in transitional spaces between a kitchen and living area, where one face of the pillar can hold cookbook storage or a small pantry cabinet, and the opposite face becomes display shelving visible from the seating area.
Estimated cost: $2,500–$8,000 depending on material quality, number of sides finished, and whether the build includes open shelving only or a combination of open and closed storage with doors. For how this fits within a broader remodel, see our kitchen remodeling cost guide.
Space requirements: Most pillar wraps add 6–10 inches of depth per side. Because this increases the effective footprint of the column, plan for a minimum of 36 inches of clearance between the finished cabinetry and any adjacent furniture, island, or wall. This is the most commonly overlooked measurement — more on that below.
Functional benefits: Adds meaningful storage without touching the floor plan. All four sides can be customized independently, which makes this a practical solution even in tighter rooms. Works in kitchens, dining areas, basements, and open living spaces.
2. Create seamless built-ins: banquette seating and wine storage
The second approach goes further by connecting the pillar to a nearby wall, turning dead space into a fully integrated built-in. This is where some of the best hidden storage ideas emerge — the pillar becomes the anchor point for a continuous run of cabinetry that includes bench seating with lift-top storage underneath, wine storage, a bar cabinet, or even a small office nook.
A built-in kitchen bench with storage is one of the most functional expressions of this idea. The column sits at one end of the banquette, the wall closes the other end, and the bench seat itself lifts to reveal deep storage below. The result is a defined dining zone, additional seating that does not require chairs, and square footage that was previously contributing nothing to the room.
Wine storage is another strong option for pillars adjacent to a kitchen or dining area. Shallow wine cubbies and a stemware rack can wrap the column and connect to upper cabinetry on the wall, giving the installation a built-in appearance that looks planned from the start.
Estimated cost: $8,000–$20,000 for a full built-in connecting a pillar to a wall. Banquette seating with storage runs toward the lower end of this range. Wine or bar built-ins with specialty inserts and lighting run higher.
Space requirements: A banquette seat should be at least 18 inches deep and 17–19 inches high for comfortable seating. The run between the pillar and wall should allow for at least 30 inches of knee space if it will serve as a dining bench. Verify that the column-to-wall span is consistent — older homes sometimes have floors that are not perfectly level, which affects how built-ins land.
Functional benefits: Transforms dead space into a destination. Adds significant storage and seating without the room-expanding cost of an addition. Creates a defined zone in an open floor plan, which is especially useful in homes where rooms bleed into each other without clear visual anchors.
3. Camouflage with millwork: fluted panels and push-to-open cabinets
The third approach prioritizes aesthetics. Rather than maximizing storage, this solution makes the pillar disappear — or at least look intentional — by wrapping it in architectural millwork. Fluted wood panels, reeded profiles, or board-and-batten treatments applied to a structural column give it a designed quality that reads as a deliberate design element rather than a structural necessity.
Combined with hidden push-to-open cabinets, this approach produces some of the most compelling creative cabinet ideas available in custom remodeling. Cabinet doors finished in the same fluted wood as the pillar casing blend into the millwork, opening with a light push rather than a visible pull or handle. The storage is there. The hardware is not. The overall effect is clean, architectural, and surprisingly spacious-feeling.
This works especially well when the pillar sits near a built-in wall unit, entertainment center, or fireplace surround. The millwork treatment can tie multiple elements together, making the entire wall feel cohesive rather than assembled from separate pieces.
Estimated cost: $5,000–$15,000 depending on the extent of millwork, panel profiles, and whether hidden cabinets are included. Fluted wood panels alone on a single pillar can be done at the lower end. A full millwork treatment with push-to-open cabinetry on multiple faces runs higher.
Space requirements: Millwork wraps are the most footprint-friendly of the three solutions. Most profiles add only 1–3 inches per side, which means walkway clearance is rarely affected. Hidden cabinets do add depth — plan for 10–14 inches on any face where cabinet storage is included.
Functional benefits: Excellent for homeowners whose priority is aesthetics over storage. Transforms the pillar from an eyesore into a design focal point. Works well in finished basements, open-concept main floors, and primary suites where visual cohesion matters more than cabinet count.
Common mistakes to avoid
Ignoring walkway clearance. The most frequent error in pillar cabinetry projects is failing to account for how the finished build affects traffic flow. A column that sits 48 inches from an island may only leave 36 usable inches after the cabinet is built — which is functional but tight. Measure the finished clearance, not the current clearance, before finalizing the design. The National Kitchen and Bath Association recommends a minimum of 36 inches for one-cook clearance and 42–48 inches for two-cook households.
Forgetting what is inside the column. Some structural columns — particularly steel posts in basement renovations — contain mechanical runs, electrical conduit, or HVAC supply lines. Confirm with your contractor before assuming the column can be fully enclosed. This affects how the cabinetry is built and whether access panels need to be incorporated.
Finishing only the visible sides. A pillar wrapped on two or three sides and left unfinished on the fourth looks incomplete from certain angles and becomes a collecting point for clutter. Budget for all four sides, even if the fourth face holds something simple like a flush panel or magnetic board.
Going too dark or too heavy. Cabinetry around a structural column can feel oppressive if the material choices are too dark or the profile too thick. In smaller rooms especially, lighter finishes, open shelving on some faces, and recessed lighting inside niches keep the installation from shrinking the space visually.
Pillar planning checklist
Before your design consultation, take these measurements and note the conditions:
- Column footprint: width × depth on each face — columns are rarely perfectly square
- Floor-to-ceiling height: measure at the column base and at each adjacent wall
- Current clearances: distance from column to nearest wall, island, or furniture on all sides
- Finished clearances: subtract your planned cabinet depth from each current clearance and verify each result is at least 36 inches
- Mechanical check: confirm with your contractor whether the column contains any electrical, plumbing, or HVAC elements
- Floor condition: check for levelness at the column base — uneven floors affect how built-ins sit and how doors hang
- Adjacent features: note any outlets, light switches, or HVAC registers within 24 inches of the column on any wall
A structural pillar does not have to be the thing you design around. In the right hands, it becomes the reason a room has a built-in bench, a wine wall, or a millwork feature that gives the whole space a sense of intention. The constraint is real. So is the opportunity.
If you have a column, a dead corner, or an awkward structural condition you have been working around, we'd be glad to take a look. Custom cabinetry around structural obstacles is one of the more satisfying problems to solve — and the result usually surprises people with how much it changes the feel of the room.