Asbestos, Lead, and Knob-and-Tube: A Homeowner’s Safety Guide to Historic Remodeling
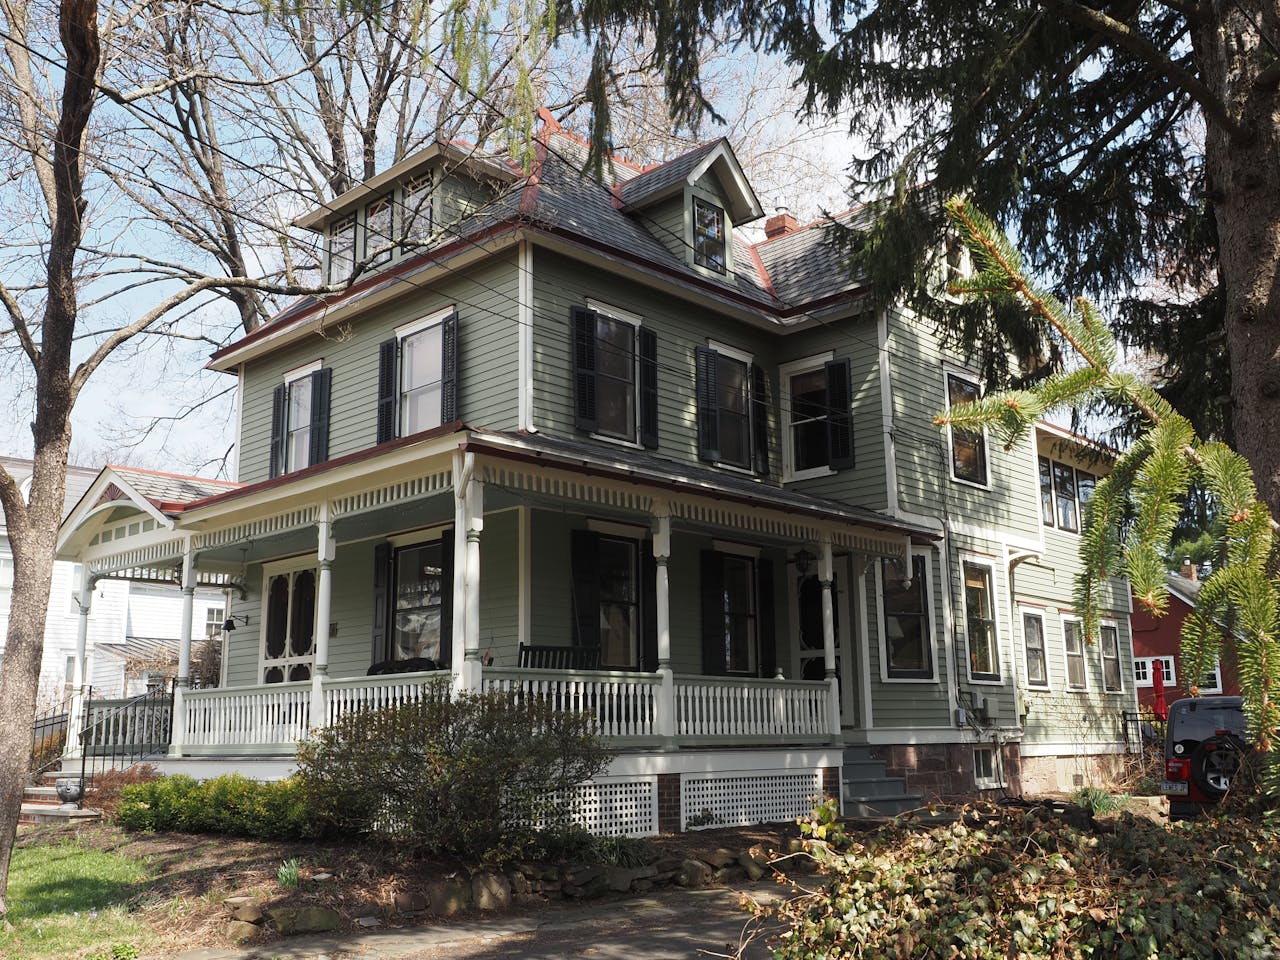
There’s a particular thrill that comes with buying a century home in the Twin Cities. The craftsman millwork, the original hardwood floors, the deep front porch — these houses have character that no new build can replicate. But beneath that charm, many historic homes are carrying a heavy burden: materials that were standard practice in their day and are now understood to be genuinely dangerous.
Asbestos in the floor tiles. Lead in the paint. Knob-and-tube wiring running through walls that haven’t been opened since Prohibition. If you’re planning a remodel, you need to know what you’re working with before the first nail comes out.
Why These Materials Were Used in the First Place
It helps to understand the logic behind these choices. Builders weren’t cutting corners — they were using the best technology available at the time.
Asbestos was prized for exactly the properties that make it hazardous today. It’s naturally fibrous, highly heat-resistant, and remarkably durable. From roughly the 1920s through the late 1970s, it was used in floor tiles, pipe insulation, roofing shingles, textured ceiling coatings, and joint compound. The U.S. didn’t begin significantly restricting its use until the late 1970s, and some legacy products lingered well into the 1980s.
Lead paint dominated the residential market because it dried hard, resisted moisture, and held color exceptionally well. It wasn’t until 1978 that the federal government banned its use in residential housing. Any home built before that year may contain it — and the older the home, the higher the concentration is likely to be.
Knob-and-tube wiring was the standard electrical system from roughly the 1880s through the 1940s. The system uses ceramic knobs to anchor wires to framing and ceramic tubes to protect wires passing through joists. It was a reasonable design for its era. The problem is that it has no ground wire, can’t support modern electrical loads, and degrades badly over time — especially when covered with insulation, which traps heat it was designed to dissipate.
Homes built between 1880 and 1950 are the most likely to have all three. In Minneapolis neighborhoods like Kenwood, Tanglewood, and Longfellow, that describes a substantial share of the housing stock.
How to Know What You’re Dealing With
Before any remodel begins, a pre-construction inspection is essential. Knowing what you’re working with changes everything — your budget, your timeline, your contractor selection, and your permit requirements.
What does asbestos look like? That’s the wrong question, because you usually can’t identify asbestos by sight. It’s woven into materials rather than sitting on top of them. If your home was built before 1980 and you have vinyl floor tiles (especially 9″x9″), popcorn or textured ceilings, pipe insulation that looks like corrugated gray cardboard, or old duct wrap, those are your candidates. The only way to know is how to test for asbestos — which means sending a sample to a certified laboratory. Costs are modest, typically $25–$75 per sample.
When did asbestos stop being used? Restrictions began in 1973 with spray-applied surfacing materials, with broader bans phased in through the 1980s. Homes built after 1990 are very unlikely to contain it in original materials.
How to identify lead paint starts with the same date logic: pre-1978 means suspect everything painted. DIY test kits are available at hardware stores and can confirm presence, but they won’t tell you concentration or condition. A certified lead inspector can provide a full report.
What does knob-and-tube wiring look like? Check your basement and attic. If you see individual cloth-wrapped wires running separately (not bundled in cable), passing through ceramic tubes in joists, and connecting at ceramic knobs nailed to framing — that’s knob-and-tube. An electrician can confirm it and assess its condition.
Three Safe Remodeling Strategies
1. Professional Hazardous Material Abatement Before Remodeling

The cleanest approach — and the one most insurers and lenders increasingly require — is to test and remediate hazardous materials before any remodel work begins. This means hiring licensed abatement contractors to remove or properly contain asbestos-containing materials and lead paint, and a licensed electrician to remove and replace knob-and-tube wiring.
In Minnesota, asbestos abatement contractors must be licensed through the Minnesota Department of Health. Lead abatement requires EPA RRP (Renovation, Repair, and Painting) certification. These aren’t suggestions — they’re legal requirements for disturbing these materials above certain thresholds.
Why It Works:
- Clean slate — your remodeling crew works without exposure risk or workflow interruptions
- Insurance alignment — many homeowner policies won’t cover claims in homes with known hazards left in place
- Permit clarity — inspectors won’t flag abated areas mid-project
- Peace of mind — you know it’s done, documented, and done right
Ideal For: Homes undergoing significant gut renovations, kitchens, bathrooms, or any project that opens walls and disturbs original materials extensively. If you’re doing a whole-home remodel, abatement-first is almost always the right call.
2. Modern Rewiring Techniques That Minimize Plaster Damage
Why is knob-and-tube wiring dangerous? Three reasons, primarily. First, it has no ground wire, meaning there’s no safe path for fault current — a shock or fire hazard. Second, it was designed for far lower electrical loads than modern appliances demand. Third, when homeowners or previous owners added insulation around it, they created a heat-trapping condition the system was never designed to handle.
Replacing knob-and-tube doesn’t have to mean gutting your plaster walls. Skilled electricians use a technique called “fishing” — threading new wiring through walls using flexible drill bits and fish tape — to minimize damage. In some cases, small access holes can be patched and textured to match the original plaster, preserving the historic feel of the home.
Why It Works:
- Safety — grounds every circuit, eliminates shock and fire risk from the old system
- Capacity — supports modern kitchens, HVAC systems, EV chargers, and home offices
- Insurance — most insurers charge significant premiums or refuse to cover homes with active knob-and-tube
- Preservation — fishing techniques protect original plaster and trim
Ideal For: Older craftsman bungalows, Victorian-era homes, and Tudor revivals where preserving original plaster and woodwork is a priority. Also ideal for homeowners doing a targeted kitchen remodeling or bathroom remodeling project where a full gut isn’t warranted.
3. Encapsulation for Undisturbed Lead Paint

Here’s something that surprises many homeowners: how to remove lead paint isn’t always the right question. When lead paint is in good condition — not peeling, chipping, or in a friction surface like a window sash — encapsulation is often the safer and more preservation-friendly option.
Encapsulation means covering the lead paint with a specially formulated bonding compound or coating that seals it in place. It’s not the same as painting over it with standard latex. True encapsulants create a durable barrier that prevents the release of lead dust. The EPA recognizes encapsulation as a valid lead hazard control method when done correctly.
The critical distinction: encapsulation works on surfaces that are stable and won’t be disturbed. Windowsills, door frames, and trim in good condition are good candidates. Surfaces that are already deteriorating, or areas being actively remodeled, require removal by a certified contractor.
Why It Works:
- Cost-effective — significantly less expensive than full removal when appropriate
- Preservation — original woodwork stays intact; no risk of damaging irreplaceable millwork
- Speed — can be completed without the extensive containment and cleanup required for removal
- Documented safety — EPA-recognized method with a clear maintenance and monitoring plan
Ideal For: Historic homes with ornate original trim, wood windows, and decorative built-ins where removal would cause irreversible damage to character-defining features. Works especially well when lead paint is isolated to specific rooms or surfaces rather than throughout the home.
Pre-Remodel Inspection Checklist
Before your contractor breaks ground, work through this list:
- Confirm home’s construction date and identify likely hazard windows (pre-1978 for lead, pre-1980 for asbestos, pre-1950 for knob-and-tube)
- Schedule a certified asbestos inspection and collect samples from suspect materials
- Order a lead paint inspection or use EPA-certified test kits on painted surfaces in project areas
- Have a licensed electrician inspect the panel and accessible wiring for knob-and-tube
- Review your homeowner’s insurance policy for hazard exclusions or surcharges
- Confirm your remodeling contractor holds or works with EPA RRP-certified professionals
- Check Minneapolis or your municipality’s permit requirements for hazardous material work
- Establish a documentation file — keep all inspection reports, abatement certificates, and lab results
- Discuss phasing with your contractor: abatement and rewiring often need to precede other work
- Ask your contractor to walk you through their process for handling discoveries mid-project
Ready to Remodel the Right Way?
Historic homes deserve contractors who understand what’s inside them — not just what you can see. At Honey-Doers, we’ve worked in enough pre-war Minneapolis homes to know that surprises are part of the process. We plan for them, and we have the right partners to handle them.
Browse our project gallery to see how we’ve handled historic remodels across the Twin Cities, or reach out directly to talk through what your project might involve. A conversation costs nothing — and knowing what you’re dealing with before demo day is worth a great deal.