Transforming your kitchen with a fresh coat of paint is one of the most rewarding home improvement projects you can undertake. Not only does it offer a cost-effective way to revitalize one of the most used spaces in your home, but it also allows you to infuse your personality and style into the heart of your living space. However, painting a kitchen is not without its challenges. From navigating the intricacies of disassembling cabinets and hardware to ensuring a functional space during the makeover, the process requires meticulous planning and preparation.
This guide is designed to simplify your kitchen painting project by breaking it down into manageable steps. We will cover everything from assessing your kitchen’s painting needs and gathering the necessary supplies to prepping surfaces, executing the painting process, and applying the finishing touches. By following these structured steps, you’ll be equipped to tackle your kitchen transformation with confidence, ensuring a smooth process and beautiful results.
Understanding the Scope
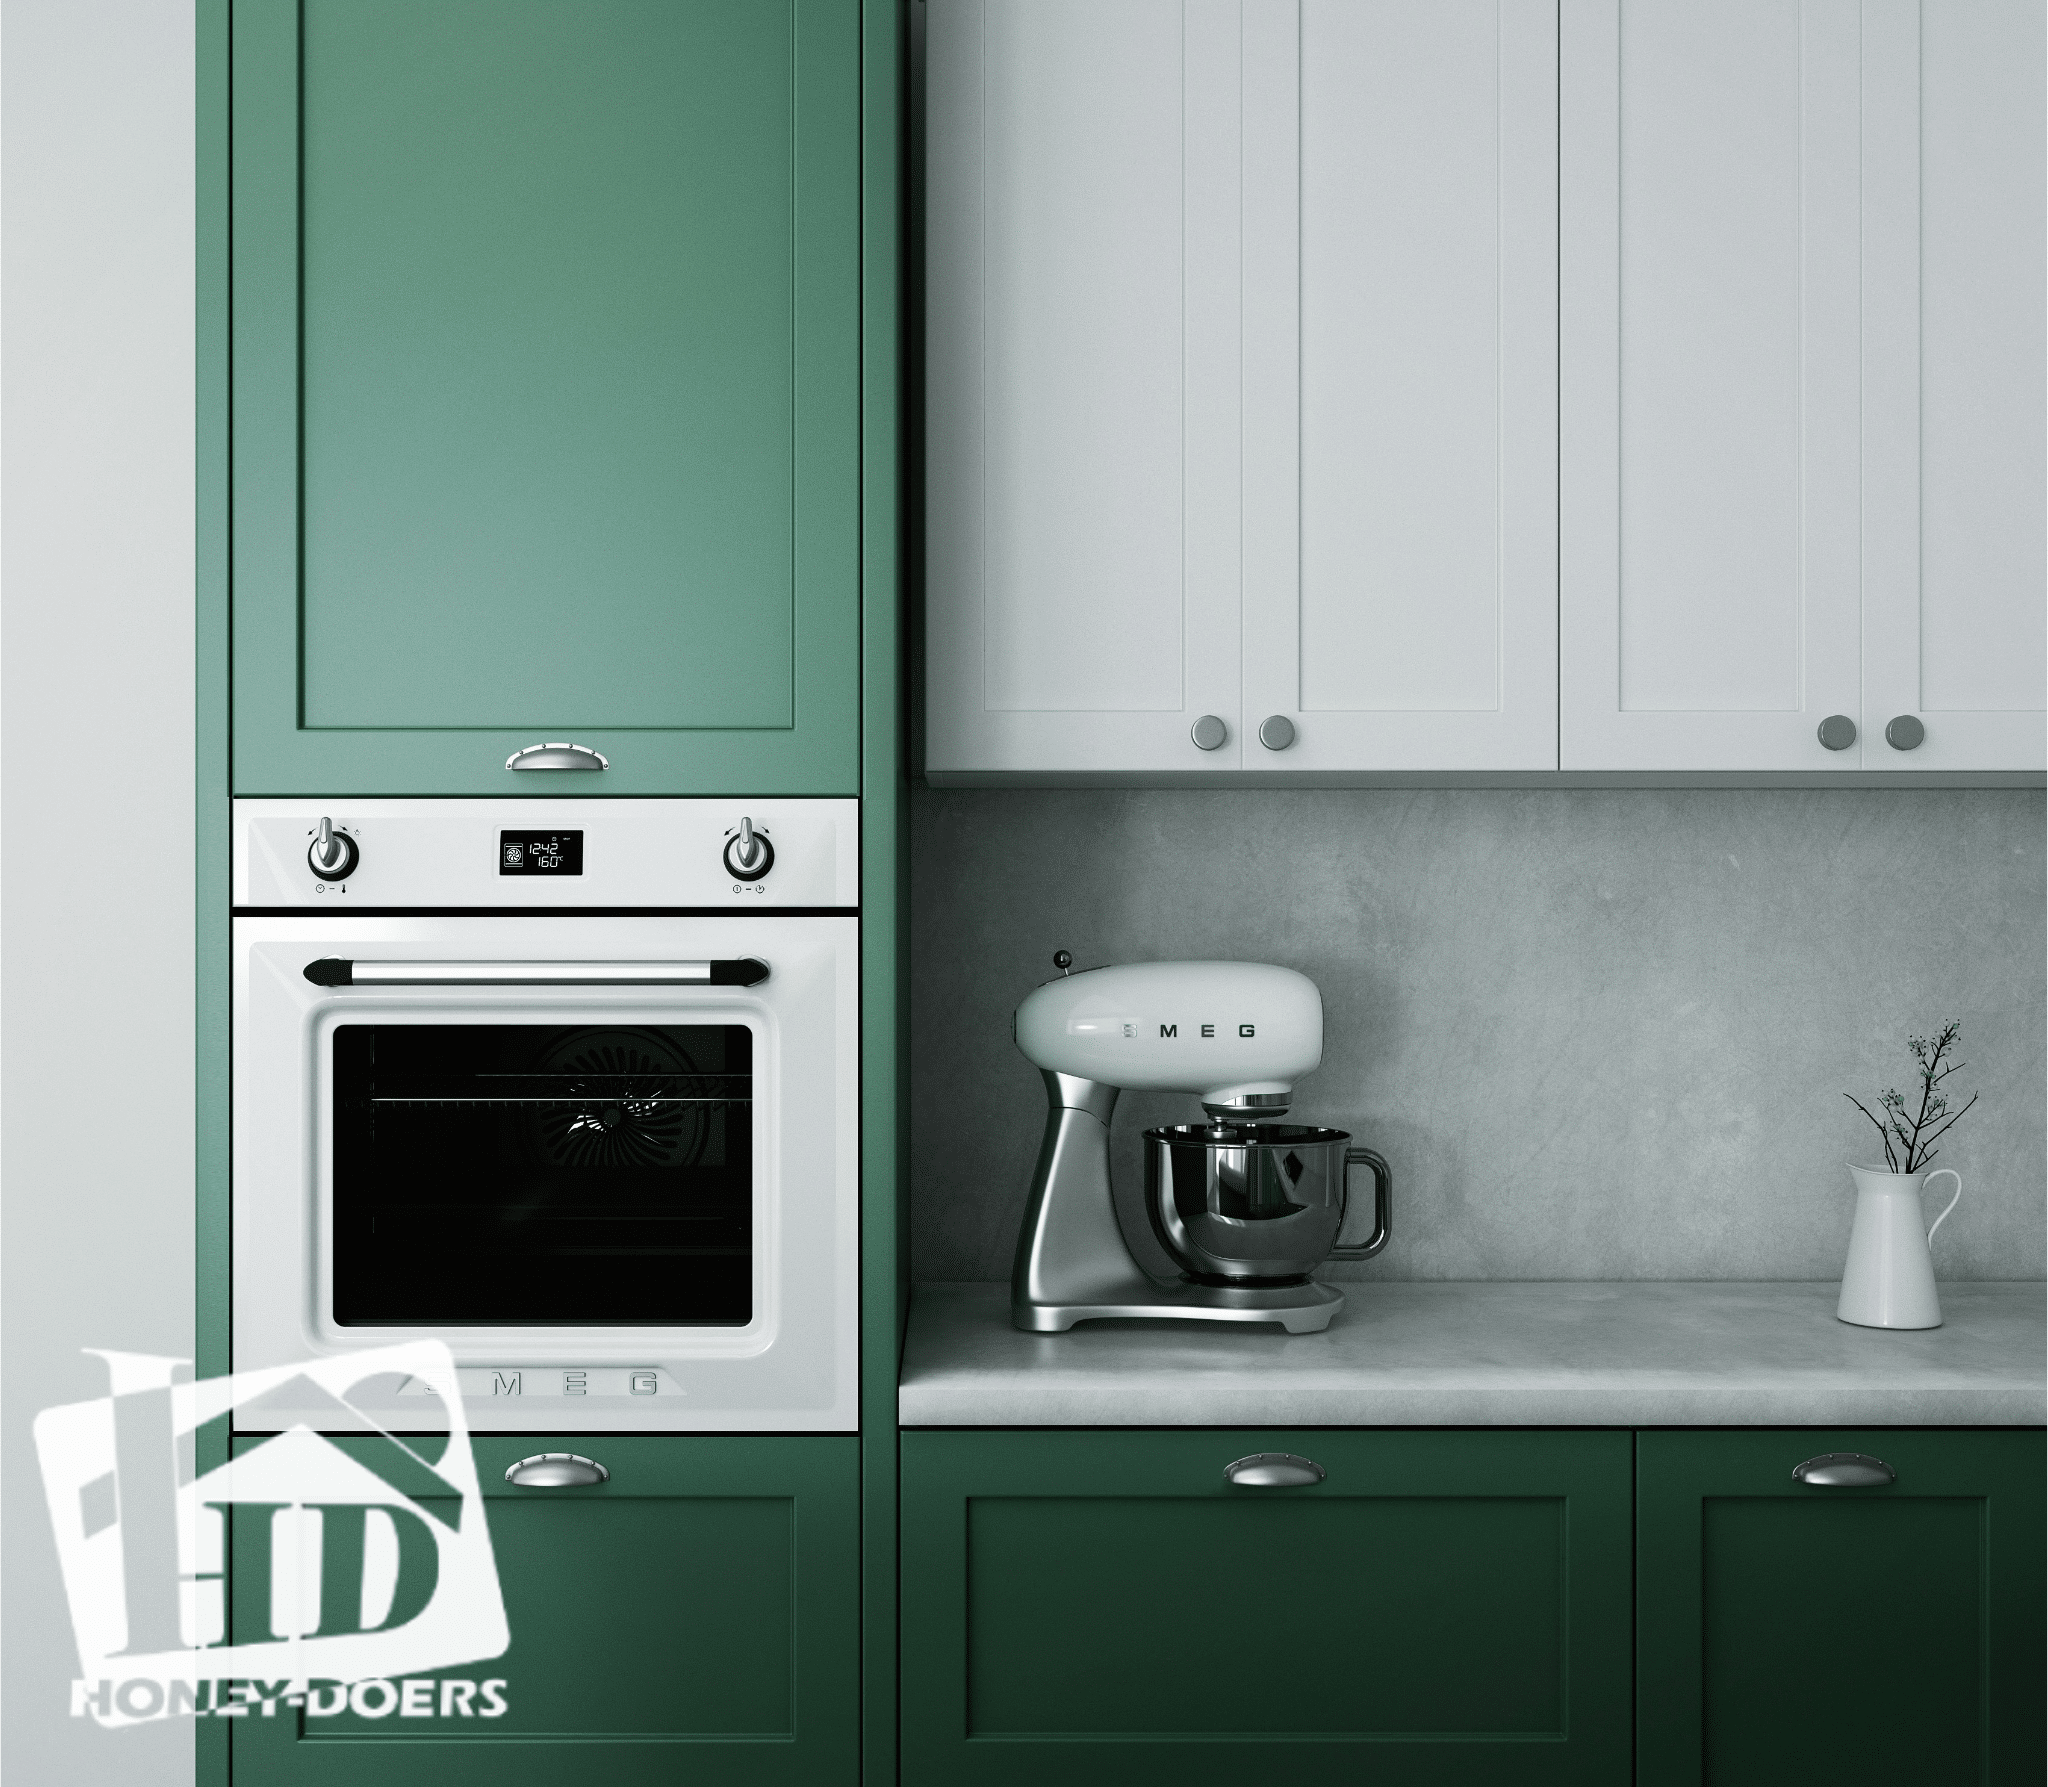
Before diving brush-first into your kitchen painting project, it’s crucial to understand the full scope of what you’re undertaking. Start by taking a comprehensive inventory of your kitchen. Are you focusing solely on painting the walls, or are the cabinets, table, sink, and countertops also on your refresh list? Each element requires specific types of paint and preparation techniques, influenced by the material they’re made of—whether wood, metal, laminate, or another surface.
Identifying these details early on will help you determine the right products and methods needed for each component, ensuring the longevity and durability of your paint job. This initial assessment phase is also the perfect time to decide on a color scheme and finish (matte, semi-gloss, etc.) that best suits your kitchen’s aesthetics and functional needs. Understanding the scope of your project from the outset will streamline your planning process and set a clear path for the steps that follow.
Planning and Preparation
A well-planned project is halfway to success, especially when it comes to transforming your kitchen. Here’s how to lay the groundwork:
- Gathering Supplies:
-
-
- Paint and primer suited for kitchen surfaces.
- Tools like brushes, rollers, painter’s tape, and sandpaper.
- Safety gear, including masks and gloves.
-
- Preparing the Kitchen:
-
- Declutter and Clean: Remove all movable items and clean surfaces to ensure paint adheres properly.
- Temporary Kitchen Setup: Arrange a small station with essentials like a microwave and coffee maker to minimize disruption to your daily routine.
- Protecting Surfaces: Use drop cloths and painter’s tape to shield floors, countertops, and appliances from drips and spills.
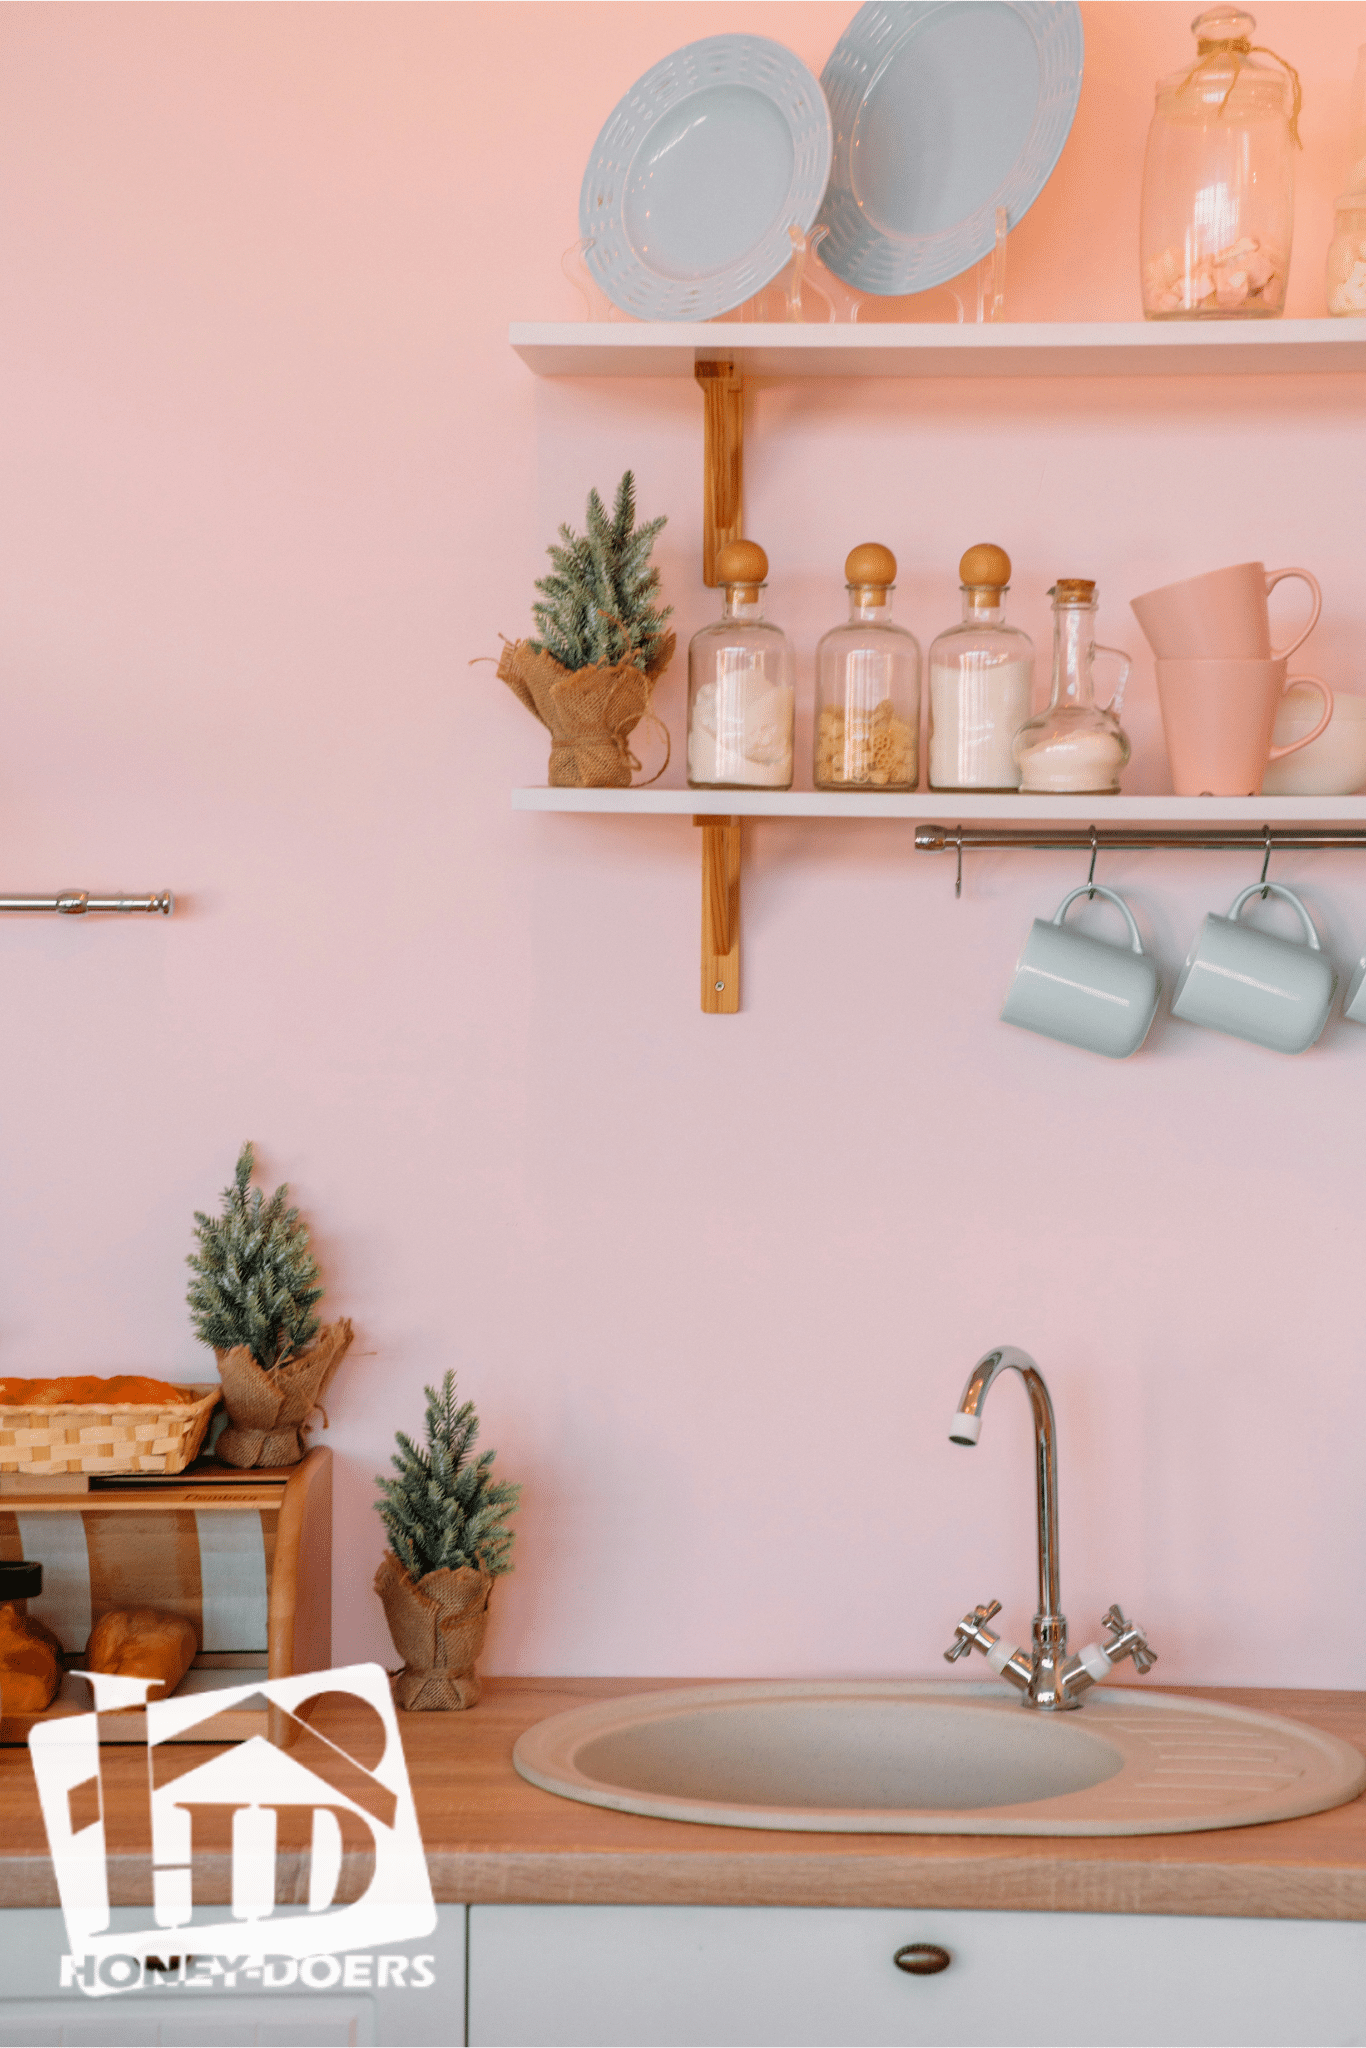
This stage is also when you should finalize your color choices and finishes, considering the kitchen’s natural and artificial lighting. Lighter colors can make small kitchens feel larger, while darker hues create a cozy ambiance. Selecting high-quality, washable paints is crucial in a kitchen, where walls and surfaces need to withstand moisture, heat, and frequent cleaning. With your supplies in hand and your kitchen prepped, you’re ready to move on to the detailed work of transforming your space.
Prepping the Surfaces
Proper surface preparation is key to ensuring your kitchen paint job looks professional and lasts long. Follow these steps for best results:
- Disassembling Cabinets and Hardware:
- Remove cabinet doors, drawers, and hardware. Label or number them to simplify reassembly.
- Store hardware in labeled bags to avoid confusion.
- Surface Preparation:
- Cleaning: Wipe down all surfaces with a degreaser to remove oil and grime build-up.
- Sanding: Lightly sand cabinets, doors, and other surfaces to create a smooth base for painting. For laminate surfaces, use a fine-grit sandpaper to avoid damage.
- Priming: Apply a primer suited for your surface type. A good primer ensures paint adherence and enhances durability.
- Repairing Flaws:
- Fill any nicks or holes with wood filler (for wooden surfaces) and sand smooth.
This meticulous preparation ensures that paint adheres properly and provides a smooth, clean finish. Skipping these steps can lead to paint peeling, chipping, or showing imperfections. With your surfaces prepped and ready, you’re set to begin the transformative process of painting.
Painting Process
Diving into the painting process requires a blend of technique and patience, especially in a kitchen where diverse surfaces and materials demand tailored approaches. Here’s how to tackle each component:
- Painting Cabinets:
- Preparation is Key: Begin with a clean, sanded, and primed surface.
- Application: For a smooth finish, use a brush or roller designed for cabinetry. Consider a sprayer for a more uniform coat, especially on intricate door designs.
- Technique: Apply paint in thin, even layers, allowing ample drying time between coats.
- Painting Kitchen Walls:
- Cutting In: Use a quality angled brush to paint around cabinets, appliances, and trim before rolling larger areas.
- Rolling: Employ a roller with an appropriate nap for your wall texture. Roll in a “W” pattern for even coverage, working in small sections.
- Challenges: Address grease and steam residue with a thorough cleaning and a primer that blocks stains and odors.
- Painting Furniture and Accessories:
- Surface Prep: Sand and prime tables, chairs, or other kitchen furniture to ensure the paint adheres and lasts.
- Paint Selection: Choose durable, easy-to-clean paint finishes that can withstand daily use.
- Specialty Painting (Sink and Countertops):
- Product Choice: Utilize paints and coatings specifically designed for sinks and countertops, capable of handling moisture and wear.
- Technique: Follow manufacturer instructions closely, often involving multiple thin coats and sealants to achieve a durable finish.
By approaching each aspect of the kitchen with these methods, you can ensure not just an aesthetic transformation but also a practical update that stands the test of time and usage. Whether brushing, rolling, or spraying, the right techniques will bring your kitchen’s new look to life with professionalism and style.
Reassembly and Finishing Touches
After the paint has dried and your kitchen begins to take on its new character, it’s time to focus on the details that bring the project to completion:
- Reassembling Cabinets and Hardware:
-
-
- Carefully reattach doors, drawers, and hardware. Consider new knobs or pulls for an updated look. Also, add any stoppers to cabinet doors and drawers that could damage the finish by repeated contact.
- Align hinges and ensure doors open smoothly for a functional finish.
-
- Applying Sealants and Finishes:
-
- For areas subject to heavy use, like countertops or tables, apply a sealant or protective finish to extend the life of your paint job.
- Choose products that complement the paint type and are suitable for food contact if necessary.
This final stage is about ensuring the longevity of your work and the functionality of your kitchen. By paying attention to these finishing touches, you solidify your kitchen’s transformation, ensuring it not only looks refreshed but also stands up to the demands of daily life.
Maintenance and Care
Ensuring your newly painted kitchen remains as vibrant and functional as the day it was completed requires a commitment to regular maintenance and care. Here are some key tips to help preserve the beauty and durability of your work:
- Regular Cleaning: Use gentle, non-abrasive cleaners to wipe surfaces, paying special attention to areas prone to grease and moisture buildup. For painted cabinets and walls, a soft cloth dampened with water and a mild soap is usually sufficient.
- Touch-ups: Keep leftover paint for minor touch-ups as needed. Even the most durable paint may chip or wear over time, especially around handles and frequently used areas.
- Protect Surfaces: Use cutting boards, coasters, and protective mats to shield countertops, tables, and other painted surfaces from scratches, heat, and stains.
- Avoid Harsh Chemicals: Strong cleaning agents can dull or damage painted finishes. Always check the compatibility of cleaning products with your painted surfaces.
By following these simple maintenance and care practices, you can enjoy a fresh, inviting kitchen that withstands the test of time and daily use.
Master Checklist:
- Understand the Scope: Assess what needs painting and choose appropriate materials.
- Plan and Prepare: Gather supplies and set up a temporary kitchen space.
- Prep the Surfaces: Clean, sand, and prime for the best paint adhesion.
- Paint: Use recommended techniques for cabinets, walls, and furniture.
- Reassemble: Carefully put your kitchen back together.
- Apply Finishes: Protect your hard work with suitable sealants.
- Maintain: Keep your kitchen looking its best with regular care.
By breaking down the project into these manageable steps, you transform what could be an overwhelming task into a series of achievable goals. Remember, the journey to a beautifully painted kitchen is a marathon, not a sprint. Taking each phase at a time not only ensures a smoother process but also a more gratifying outcome. So, arm yourself with patience, precision, and paint, and watch as your kitchen evolves into a masterpiece of your making.
Conclusion
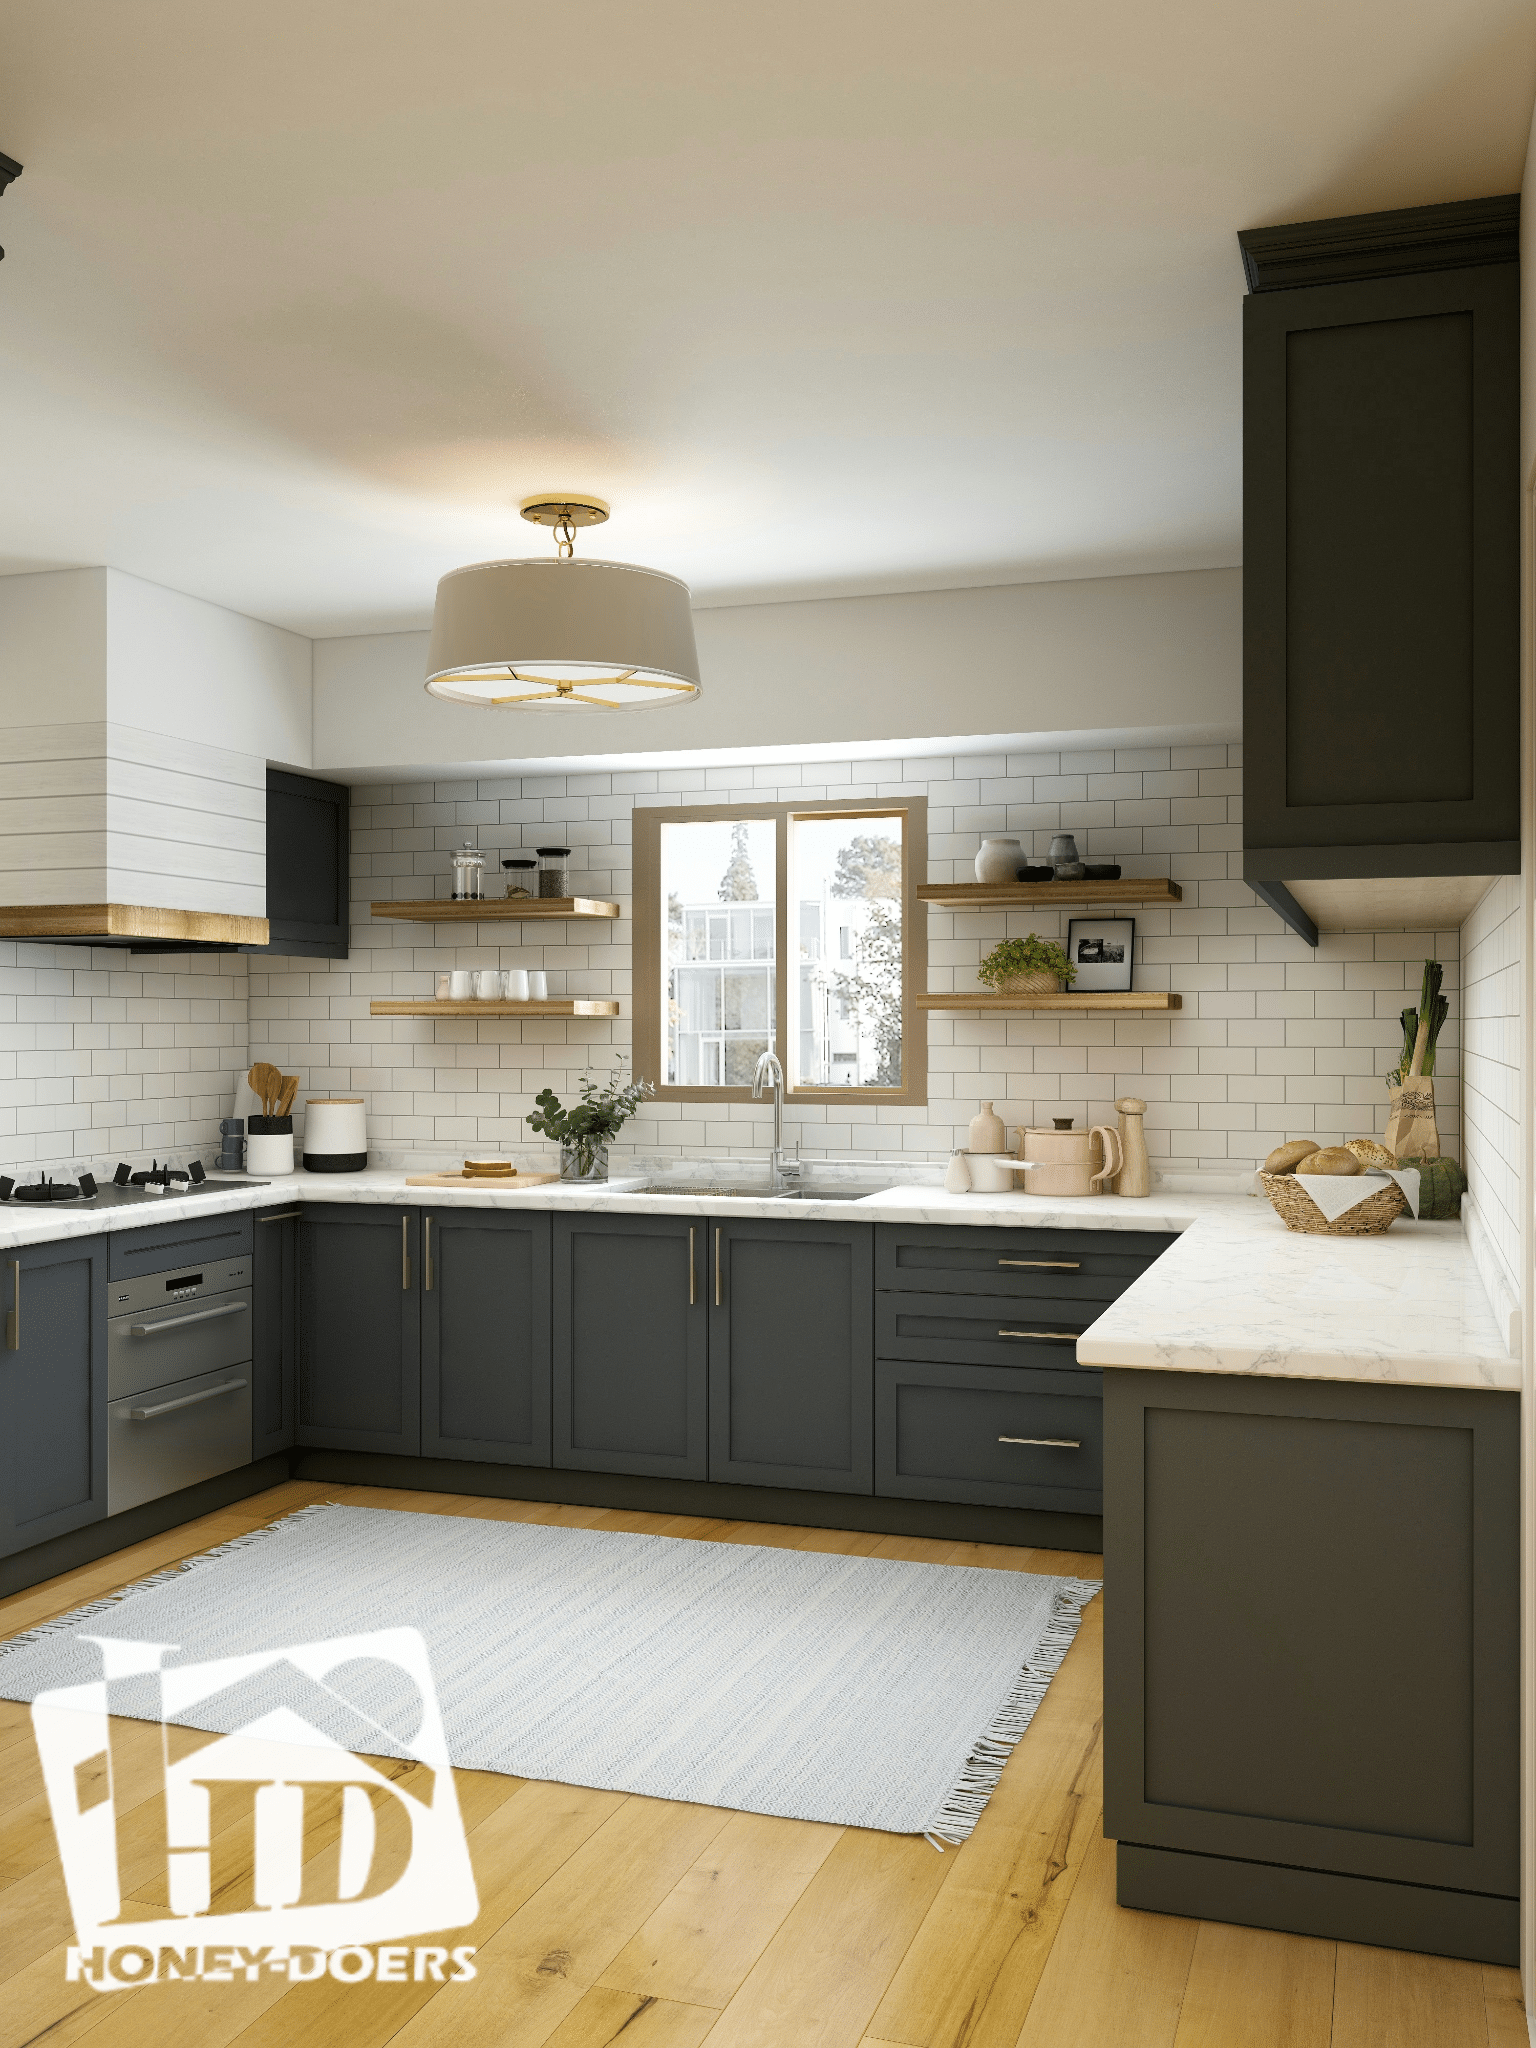
The transformative power of paint in the kitchen cannot be overstated. With the right shades and techniques, you can breathe new life into this central hub of your home, making it a reflection of your style and a space that invites warmth and joy. From the detailed preparation of surfaces to the meticulous application on cabinets, walls, and even countertops, every step in the process contributes to the overall success of your kitchen makeover.